
Whether you're building a simple blog or a full-on enterprise application, at some point you're going to need an admin section to manage your project. One of the hardest parts of building an admin section is getting a feel for how robust it should be.
Do we need a separate model for admin users, or can they be extensions of our regular users? Should we manage their admin status in data, or can we manage it in the code to start? Will we ever need to add more admins, or can we start with just us?
These are fantastic questions to be asking, and they really highlight the range of options available to us. For this post, let's focus on building a quick admin section that only admins can see by extending our User model to support admins.
Set-Up
For this project, we're going to be using a default Laravel installation. To get that up and running, check out my previous blog post on setting up a Laravel 5.5 project.
We'll also be using my Laravel starter auth bootstrap, so we don't have to worry about configuring our initial project. You can find it here on GitHub.
Updating Our Users
Let's get the ball rolling by extending our User model to support our new admins. Since we're using TDD to build our admin, let's stub out some tests for us to follow.
We can run php artisan make:test UserTest --unit from our terminal to generate our unit test. We're going to start with a unit test because we're not testing any features of our app. Instead, we're testing the lower-level functionality that our users can be admins.
Our first two tests will be pretty simple. We just want to make sure that users can and can't be admins. So, our tests will look like this:
use RefreshDatabase;

/** @test */
public function a_default_user_is_not_an_admin()
{

}

/** @test */
public function an_admin_user_is_an_admin()
{

}
Like we said, we're testing that the appropriate user is or isn't an admin. Now, let's write our tests to validate this.
/** @test */
public function a_default_user_is_not_an_admin()
{
    $user = factory(User::class)->create();

    $this->assertFalse($user->isAdmin());
}

/** @test */
public function an_admin_user_is_an_admin()
{
    $admin = factory(User::class)
        ->states('admin')
        ->create();

    $this->assertTrue($admin->isAdmin());
}
As you can see, in both tests we're using our model factories to generate a user with the appropriate data, and then we're asserting that the isAdmin() method is returning correctly.
Since we haven't written any code yet, these tests are going to fail when we run phpunit. Let's make them pass.
To start, we'll need to update our user factory and migration. In our migration, we can add a field for the type of User we need. Now, it'll look like this:
public function up()
{
    Schema::create('users', function (Blueprint $table) {
        $table->increments('id');
        $table->string('name');
        $table->string('email')->unique();
        $table->string('password');
        $table->string('type');
        $table->rememberToken();
        $table->timestamps();
    });
}
With our migration taken care of, let's update our factory. Inside of our UserFactory, we're going to include the type in our regular factory and add a factory state for our admin.
$factory->define(App\User::class, function (Faker $faker) {
    return [
        'name' => $faker->name,
        'email' => $faker->unique()->safeEmail,
        'password' => '$2y$10$TKh8H1.PfQx37YgCzwiKb.KjNyWgaHb9cbcoQgdIVFlYg7B77UdFm', // secret
        'remember_token' => str_random(10),
        'type' => 'default',
    ];
});

$factory->state(App\User::class, 'admin', [
    'type' => 'admin',
]);
While this works great, I'm a little nervous about hard-coding the type values into our factory. What happens if we need to change them in the future, or how will we even remember them? Well, we can take advantage of our User model and PHP class constants to manage our types in one place.
At the top of our User model, we can add the following:
class User extends Authenticatable
{
    use Notifiable;

    const ADMIN_TYPE = 'admin';
    const DEFAULT_TYPE = 'default';

     //Rest of the class below
}
We can reference these constants in our factory like so:
$factory->define(App\User::class, function (Faker $faker) {
    return [
        'name' => $faker->name,
        'email' => $faker->unique()->safeEmail,
        'password' => '$2y$10$TKh8H1.PfQx37YgCzwiKb.KjNyWgaHb9cbcoQgdIVFlYg7B77UdFm', // secret
        'remember_token' => str_random(10),
        'type' => User::DEFAULT_TYPE,
    ];
});

$factory->state(App\User::class, 'admin', [
    'type' => User::ADMIN_TYPE,
]);
Now, we're maintaining our type definitions in our User model and we can reference them throughout our project as needed. This will really help us keep our code more consistent and maintainable. With our factory and migration ready, it's time to update our model.
Inside of User.php, we can see the following:
<?php

namespace App;

use Illuminate\Notifications\Notifiable;
use Illuminate\Foundation\Auth\User as Authenticatable;

class User extends Authenticatable
{
    use Notifiable;

    const ADMIN_TYPE = 'admin';
    const DEFAULT_TYPE = 'default';

    /**
     * The attributes that are mass assignable.
     *
     * @var array
     */
    protected $fillable = [
        'name',
        'email',
        'password',
    ];

    /**
     * The attributes that should be hidden for arrays.
     *
     * @var array
     */
    protected $hidden = [
        'password',
        'remember_token',
    ];
}
We're going to add our type field to the fillable array and then add the isAdmin() method. So, now our User class will look like this:
//Unchanged Code Above Here

const ADMIN_TYPE = 'admin';
const DEFAULT_TYPE = 'default';

/**
 * The attributes that are mass assignable.
 *
 * @var array
 */
protected $fillable = [
    'name',
    'email',
    'password',
    'type',
];

/**
 * The attributes that should be hidden for arrays.
 *
 * @var array
 */
protected $hidden = [
    'password',
    'remember_token',
];

public function isAdmin()
{
    return $this->type === self::ADMIN_TYPE;
}
As you can see, our isAdmin() method checks a User's type to see if it matches the ADMIN_TYPE. Now, when we run phpunit our tests should be green.
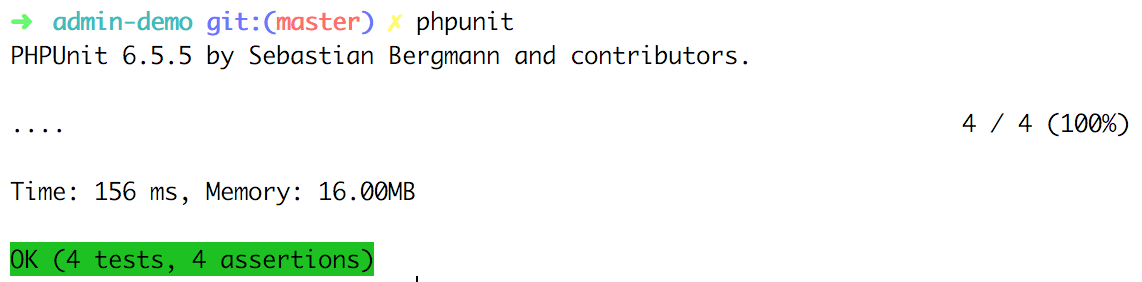
And sure enough, they are! Now that we've added type to the fillable array, we need to make a tweak to our RegisterController.php.
Towards the bottom of that file, we can see the create() method. We'll need to add the type field to this so our users receive their default type when they sign up.
protected function create(array $data)
{
    return User::create([
        'name' => $data['name'],
        'email' => $data['email'],
        'password' => bcrypt($data['password']),
        'type' => User::DEFAULT_TYPE,
    ]);
}
That'll do it! Now that our Users can be admins, let's scaffold an admin dashboard that only they can look at.
Admin Views
Once again, we'll start with a test! Since we'll be testing a feature of our application, we're going to want to use a feature test this time. To create that, we'll run php artisan make:test AdminTest. Now we can add our tests.
class AdminTest extends TestCase
{
    use RefreshDatabase;

    /** @test */
    public function a_default_user_cannot_access_the_admin_section()
    {
        $user = factory(User::class)->create();

        $this->actingAs($user)
            ->get('/admin')
            ->assertRedirect('home');
    }

    /** @test */
    public function an_admin_can_access_the_admin_section()
    {
        $admin = factory(User::class)
            ->states('admin')
            ->create();

        $this->actingAs($admin)
            ->get('/admin')
            ->assertStatus(200);
    }
}
These are pretty similar to our last tests. We're checking that regular users don't have access to our /admin route and that admins do have access.
One extra wrinkle that you can see is that we're making use of the actingAs() helper method. This lets us log in and authenticate our created user for the test. Now, let's make get these tests to green.
First, we'll add the /admin route in web.php.
Route::get('/admin', 'HomeController@admin')->name('admin');
For this tutorial, we'll keep using the HomeController. But, you might want to consider using a dedicated AdminController for your project. Inside of HomeController.php, we can add our admin() method like so:
<?php

namespace App\Http\Controllers;

use Illuminate\Http\Request;

class HomeController extends Controller
{
    /**
     * Create a new controller instance.
     *
     * @return void
     */
    public function __construct()
    {
        $this->middleware('auth');
    }

    /**
     * Show the application dashboard.
     *
     * @return \Illuminate\Http\Response
     */
    public function index()
    {
        return view('home');
    }

    public function admin()
    {
        return view('admin');
    }
}
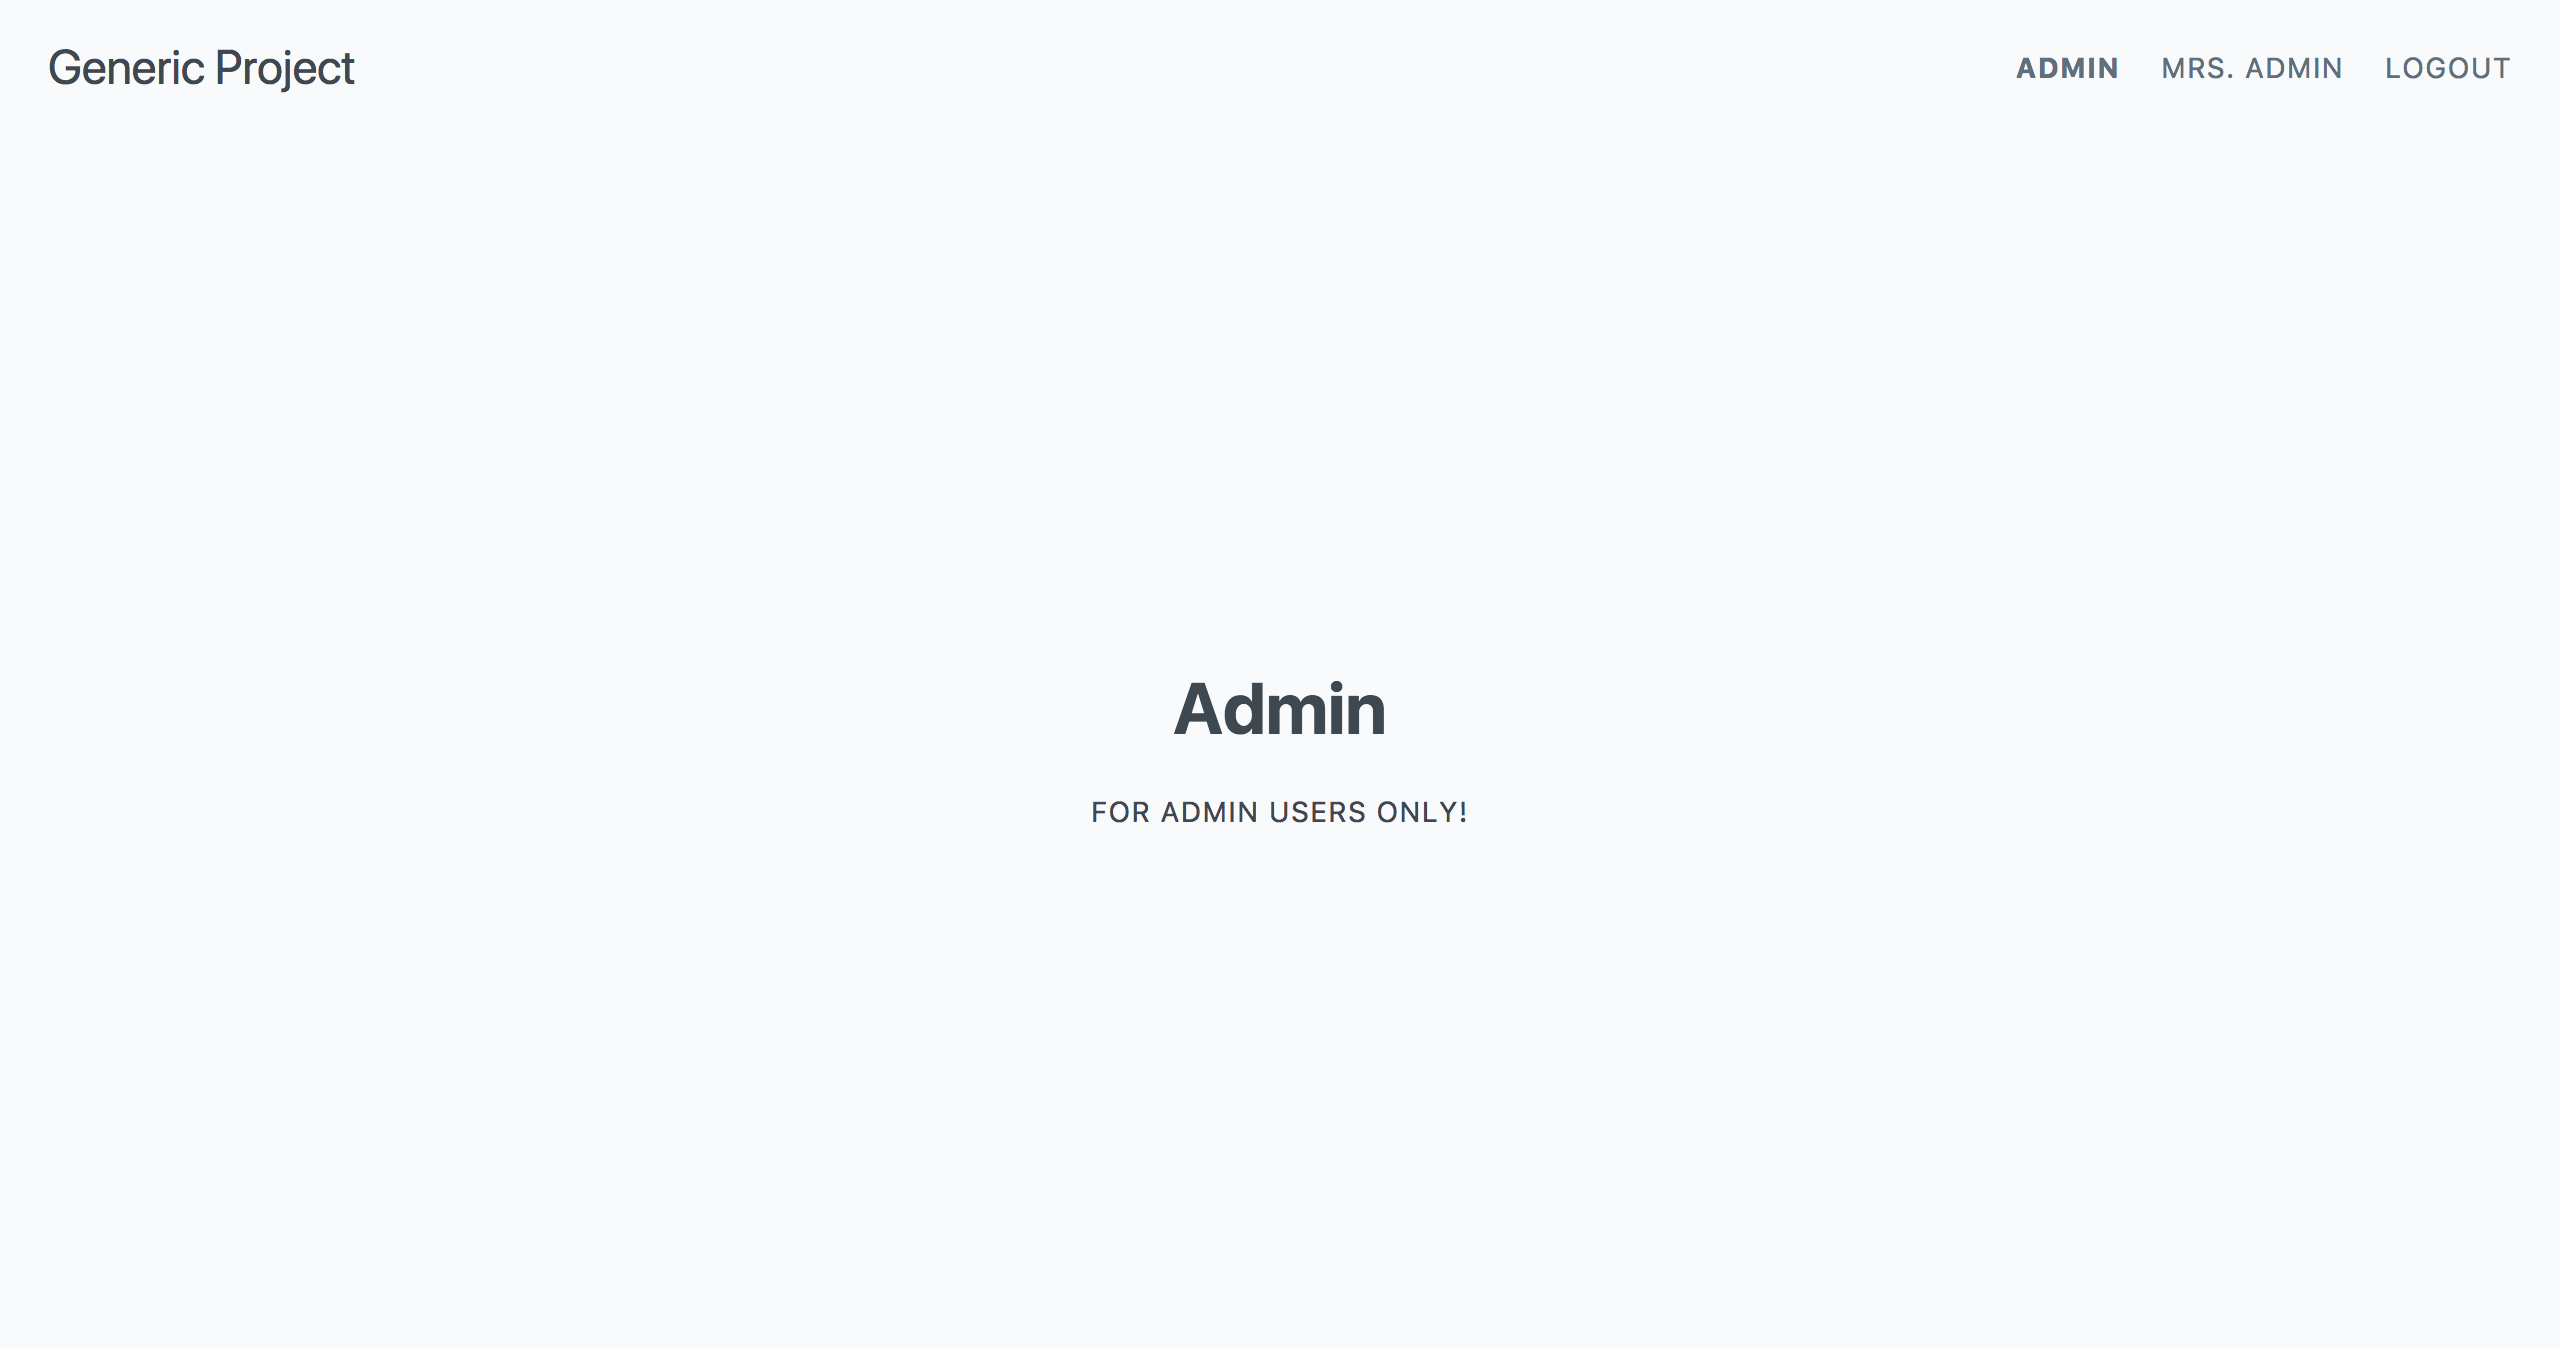
Now we can create our admin template by copying home.blade.php and changing the text.
@extends('layouts.app')

@section('content')
    <div class="flex items-center justify-center h-9/10">
        <div class="text-center">
            <h1 class="text-grey-darkest text-4xl mb-6">Admin</h1>
            <p class="uppercase tracking-wide text-sm text-grey-darkest ">For admin users only!</p>
        </div>
    </div>
@endsection
When we run our test suite now, we can see that the an_admin_can_access_the_admin_section test is passing and the other is failing.
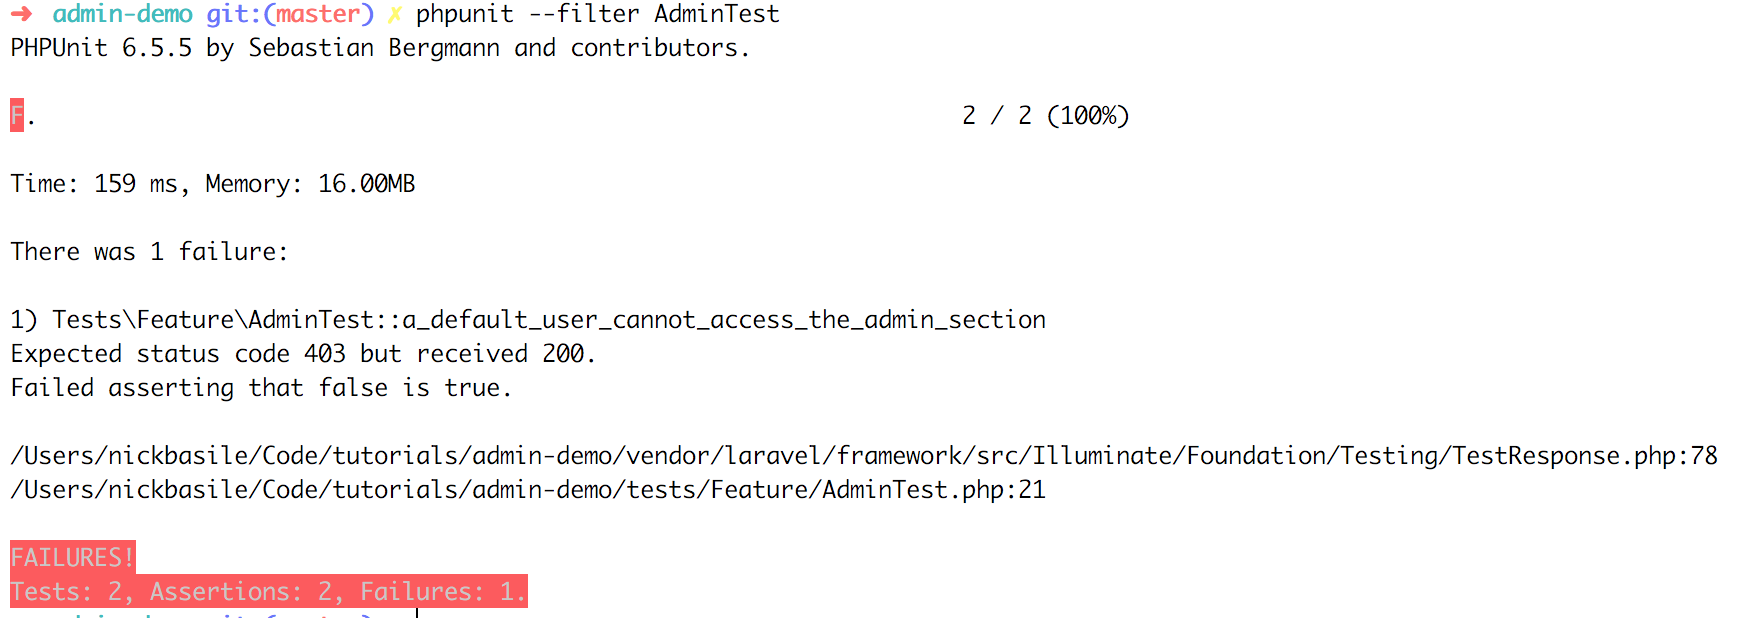
And that makes sense! Our admins can see this new view, but so can our regular users. To fix this, we can add in a middleware so only the admins have access.
To start, we can run php artisan make:middleware IsAdmin to generate our middleware. The generated file will look like this:
<?php

namespace App\Http\Middleware;

use Closure;

class IsAdmin
{
    /**
     * Handle an incoming request.
     *
     * @param  \Illuminate\Http\Request  $request
     * @param  \Closure  $next
     * @return mixed
     */
    public function handle($request, Closure $next)
    {
        return $next($request);
    }
}
Now we can add in our logic for only allowing admins to access routes protected by this middleware.
public function handle($request, Closure $next)
{
    if(auth()->user()->isAdmin()) {
        return $next($request);
    }

    return redirect('home');
}
As you can see, if the currently authenticated user is an admin, then we let her through. Otherwise, we send her back to the /home route. With our middleware ready to go, we can now register it in our Kernel.php so we can use it.
Inside of Kernel.php, there's a protected array called $routeMiddleware. We can register our custom middleware in here.
protected $routeMiddleware = [
    'auth' => \Illuminate\Auth\Middleware\Authenticate::class,
    'auth.basic' => \Illuminate\Auth\Middleware\AuthenticateWithBasicAuth::class,
    'bindings' => \Illuminate\Routing\Middleware\SubstituteBindings::class,
    'can' => \Illuminate\Auth\Middleware\Authorize::class,
    'guest' => \App\Http\Middleware\RedirectIfAuthenticated::class,
    'throttle' => \Illuminate\Routing\Middleware\ThrottleRequests::class,
    'is_admin' => \App\Http\Middleware\IsAdmin::class,
];
Finally, we're ready to add our middleware to our route. Hopping back into web.php, we can update our /admin route like so:
Route::get('/admin', 'HomeController@admin')
    ->middleware('is_admin')
    ->name('admin');
Now we're applying our middleware to protect this route. Let's run our tests to make sure everything is working.
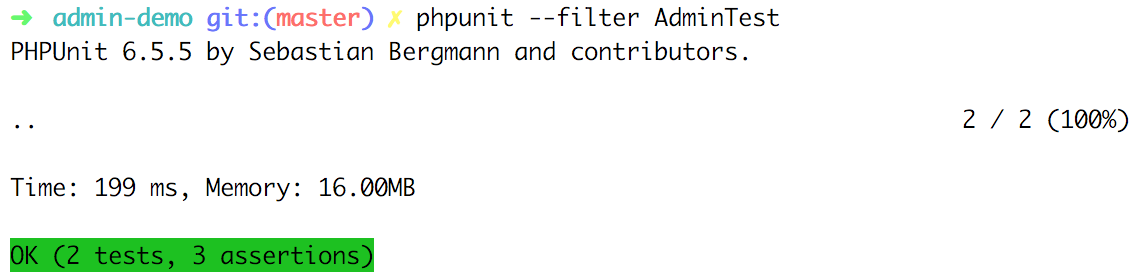
Bada bing bada boom, we've got ourselves a working middleware. Now, let's add a link to the nav that our admins can use to access the admin section. Inside of our nav.blade.php partial, we can see the following:
<nav class="p-6 h-1/10 flex items-baseline justify-between md:items-center">
    <div class="w-1/2">
        @guest
            <a href="{{ url('/') }}" class="no-underline text-2xl text-grey-darkest hover:text-black">
                {{ config('app.name', 'Auth Starter') }}
            </a>
        @else
            <a href="{{ url('/home') }}" class="no-underline text-2xl text-grey-darkest hover:text-black">
                {{ config('app.name', 'Auth Starter') }}
            </a>
        @endguest
    </div>
    <div class="w-1/2 text-right">
        @guest
            <a href="{{ route('login') }}" class="no-underline uppercase tracking-wide text-sm ml-4 text-grey-darker hover:text-grey-darkest {{set_active('login*', 'font-bold')}}">Login</a>
            <a href="{{ route('register') }}" class="no-underline uppercase tracking-wide text-sm ml-4 text-grey-darker hover:text-grey-darkest {{set_active('register*', 'font-bold')}}">Register</a>
        @else
            <a href="#" class="no-underline uppercase tracking-wide text-sm ml-4 text-grey-darker hover:text-grey-darkest">{{ Auth::user()->name }}</a>
            <a href="{{ route('logout') }}"
               class="no-underline uppercase tracking-wide text-sm ml-4 text-grey-darker hover:text-grey-darkest"
               onclick="event.preventDefault(); document.getElementById('logout-form').submit();">
                Logout
            </a>
            <form id="logout-form" action="{{ route('logout') }}" method="POST" style="display: none;">
                {{ csrf_field() }}
            </form>
        @endguest
    </div>
</nav>
Let's add our link to the right side of the nav inside of the @else statement.
<div class="w-1/2 text-right">
    @guest
        <a href="{{ route('login') }}" class="no-underline uppercase tracking-wide text-sm ml-4 text-grey-darker hover:text-grey-darkest {{set_active('login*', 'font-bold')}}">Login</a>
        <a href="{{ route('register') }}" class="no-underline uppercase tracking-wide text-sm ml-4 text-grey-darker hover:text-grey-darkest {{set_active('register*', 'font-bold')}}">Register</a>
    @else
        @if(Auth::user()->isAdmin())
            <a href="{{ route('admin') }}" class="no-underline uppercase tracking-wide text-sm ml-4 text-grey-darker hover:text-grey-darkest {{set_active('admin*', 'font-bold')}}">Admin</a>
        @endif
        <a href="#" class="no-underline uppercase tracking-wide text-sm ml-4 text-grey-darker hover:text-grey-darkest">{{ Auth::user()->name }}</a>
        <a href="{{ route('logout') }}"
           class="no-underline uppercase tracking-wide text-sm ml-4 text-grey-darker hover:text-grey-darkest"
           onclick="event.preventDefault(); document.getElementById('logout-form').submit();">
            Logout
        </a>
        <form id="logout-form" action="{{ route('logout') }}" method="POST" style="display: none;">
            {{ csrf_field() }}
        </form>
    @endguest
</div>
Now, we can see that admin users have access to this link and regular users don't!
Regular User
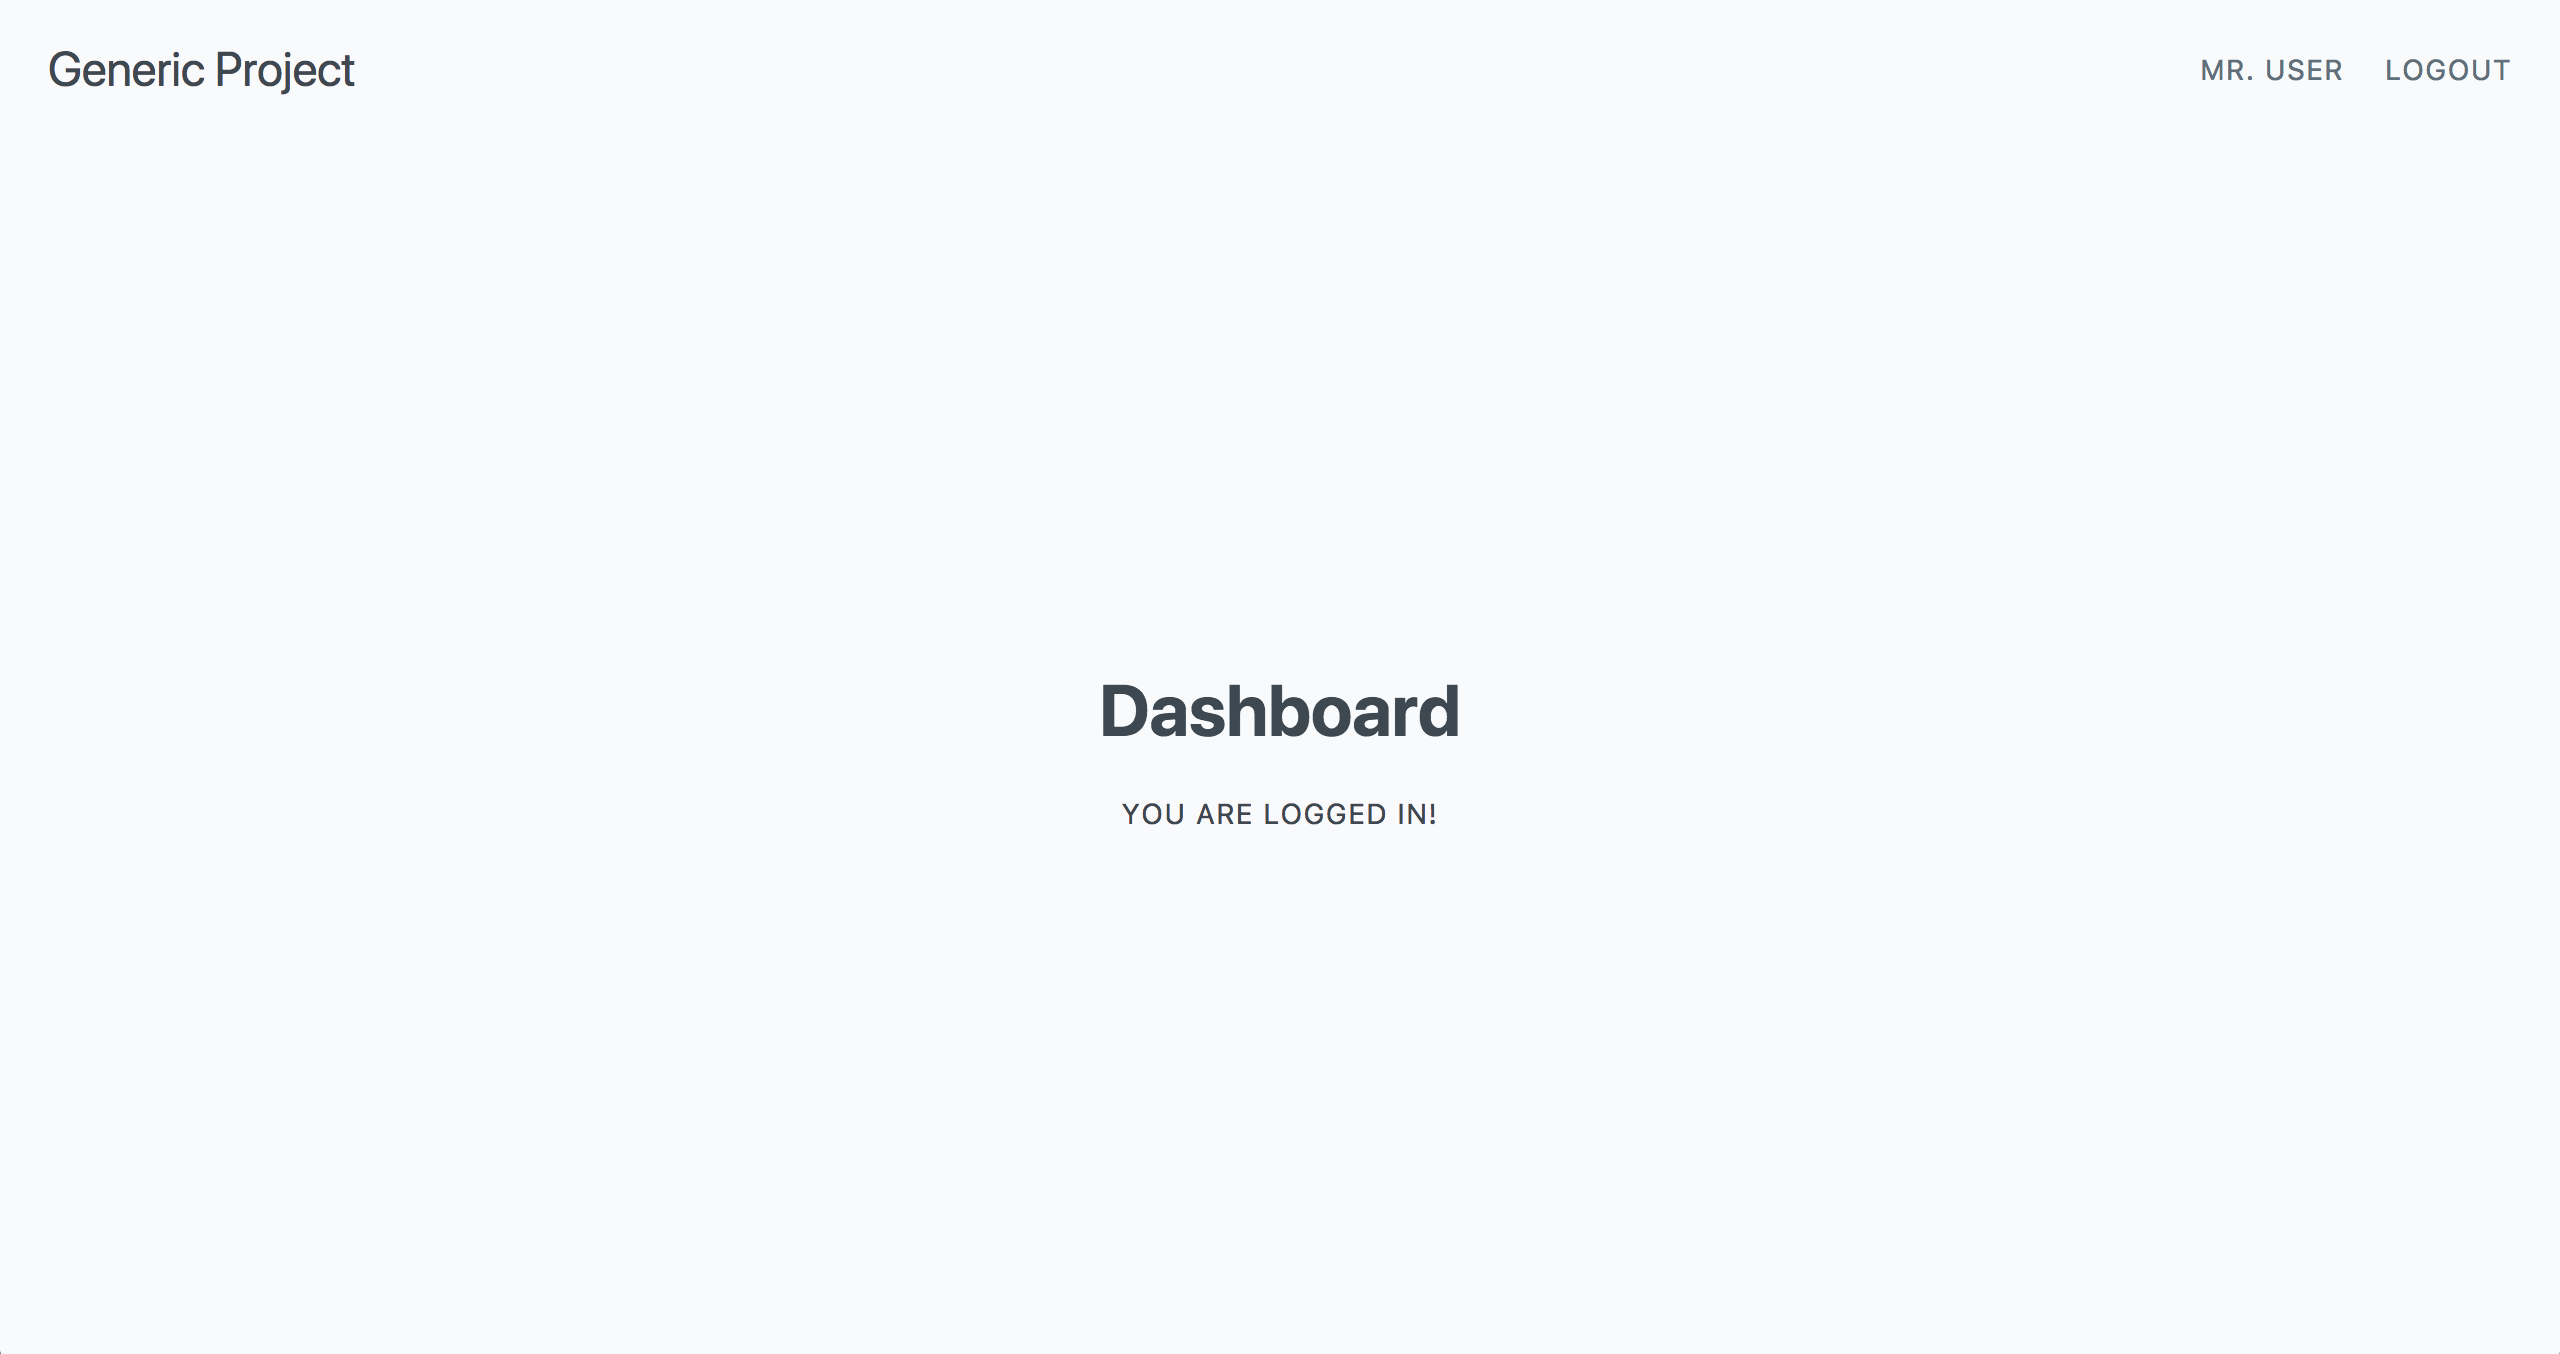
Admin User
And there you have it! A simple admin section that's isolated from our regular users.
The Wrap-Up
At some point or another, most projects will need an admin section. This approach shows you how quick and easy it can be to set one up. But, it's certainly not the only way to do it.
You can take this all a step further by creating a separate model for admins; using policies for authorization, or by leveraging a full-on roles package like the excellent Spatie larave-permission. Whether or not you choose to go down those paths is up to you! As always, feel free to ask me any questions on Twitter. And until next time, happy coding!