What an exciting day in Laravel history! Today, the latest addition to the Laravel ecosystem has arrived: Nova. So, what exactly is it?
Well, straight from the marketing website it's defined as, "a beautifully designed administration panel for Laravel. Carefully crafted by the creators of Laravel to make you the most productive developer in the galaxy." In my eyes, it can be everything from an admin panel to a CMS to a CRM, and I'm just scratching the surface. It's rocket fuel for your Laravel projects that lets you focus on the features that matter to your users.
I had a chance to grab my license this morning, and I've already been blown away by how intuitively Nova fits into my established Laravel workflow. Today, I'll walk you through how I got started with it by building a quick blog.
Getting Started
First things first, you'll need to head over to the Nova website and register for an account. Once you're in, you'll need to purchase a license to get access to the code.
The price is $99 for a solo developer and $199 for a team. This may seem steep, but the productivity gains you'll see should more than make up for the cost. Honestly, I'm already having a hard time envisioning how I would work without it.
Once you have a license, you can download the Nova files to your machine. Next, create a new laravel project using laravel new <your-project-name> or you can add it to an existing project. From the command line, I used mv <path-to-nova-download> <path-to-my-project-nova-directory> to add it. This way, I was sure to include all of the hidden files like the .gitignore.
Project Installation
With the source code in place, you can configure your composer.json to recognize Nova by adding this snippet:
"repositories": [
    {
        "type": "path",
        "url": "./nova"
    }
],
Then, you'll add Nova to the require section of composer.json like this:
"require": {
    "php": "^7.1.3",
    "fideloper/proxy": "^4.0",
    "laravel/framework": "5.6.*",
    "laravel/nova": "*"
},
Before running the installation commands, make sure you configure your DB in your .env. I was so excited the first time I installed it that I forgot this crucial step and had a fun error to remind me that everyone goofs up every now and again.
With that setup, you can run the following commands from your terminal to install Nova:
composer update

php artisan nova:install

php artisan migrate
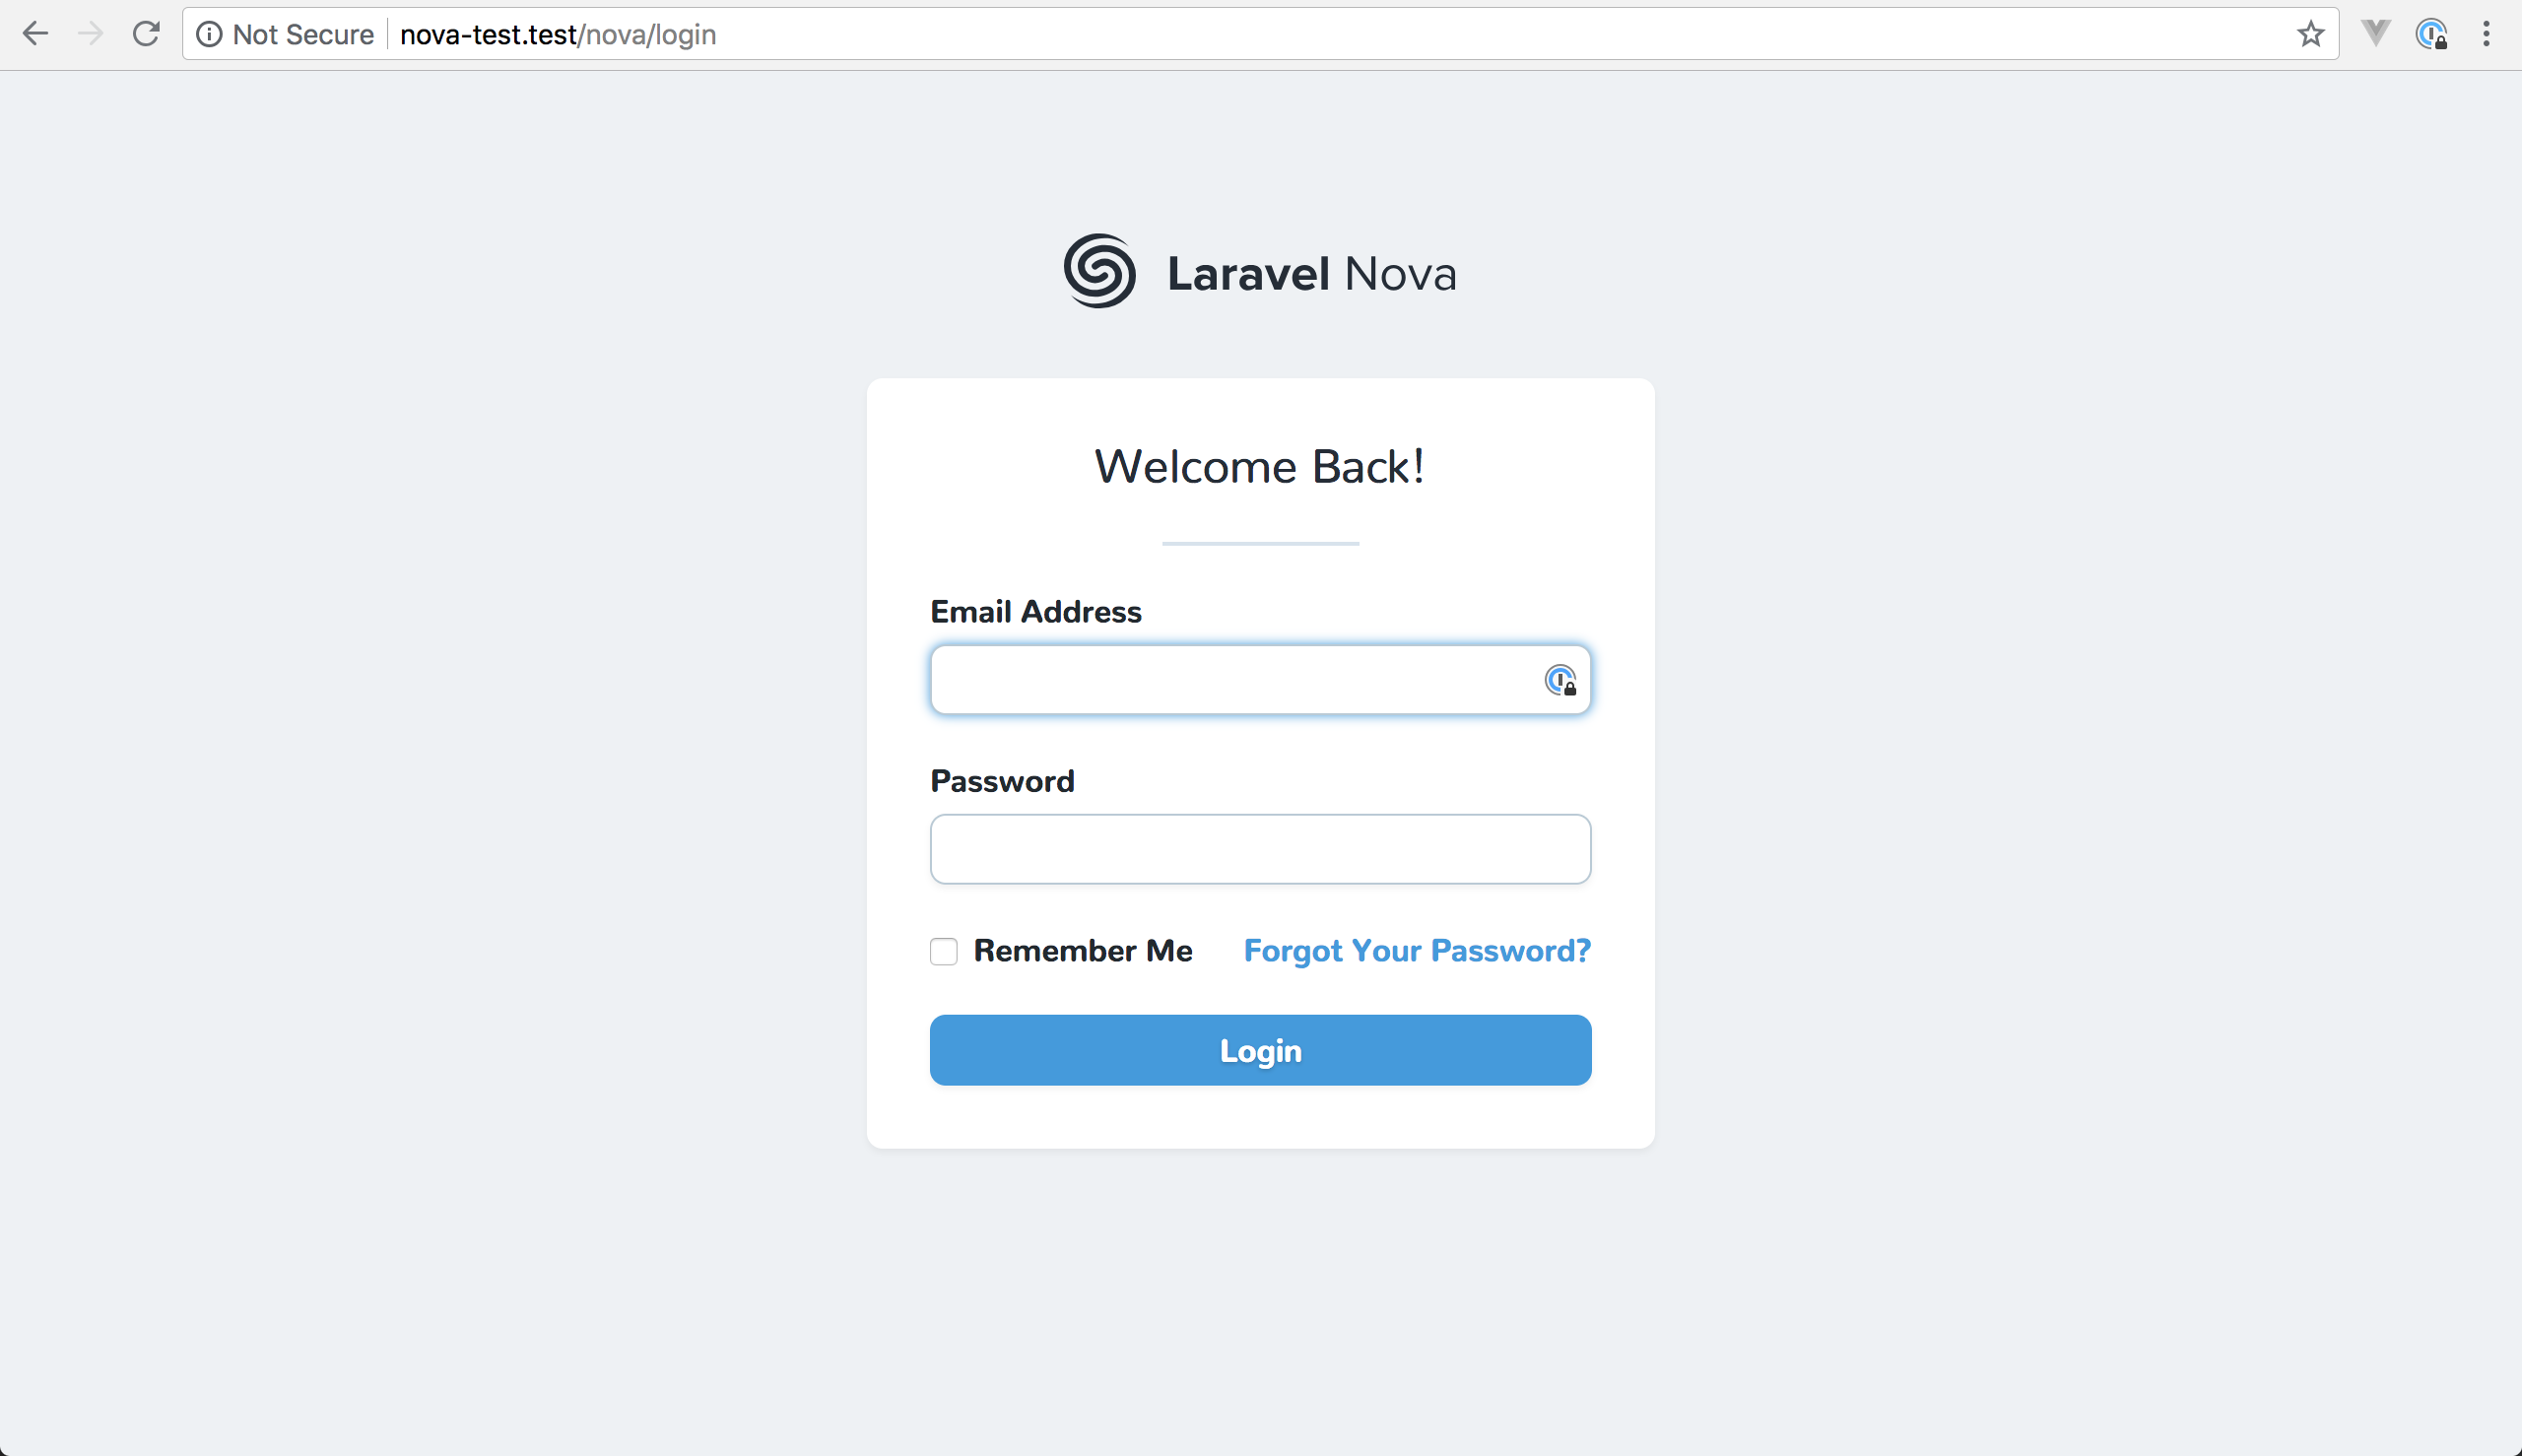
Bada bing bada boom, Nova is now installed in our project! We can now navigate to the /nova route and see the login screen.
Add Your First User
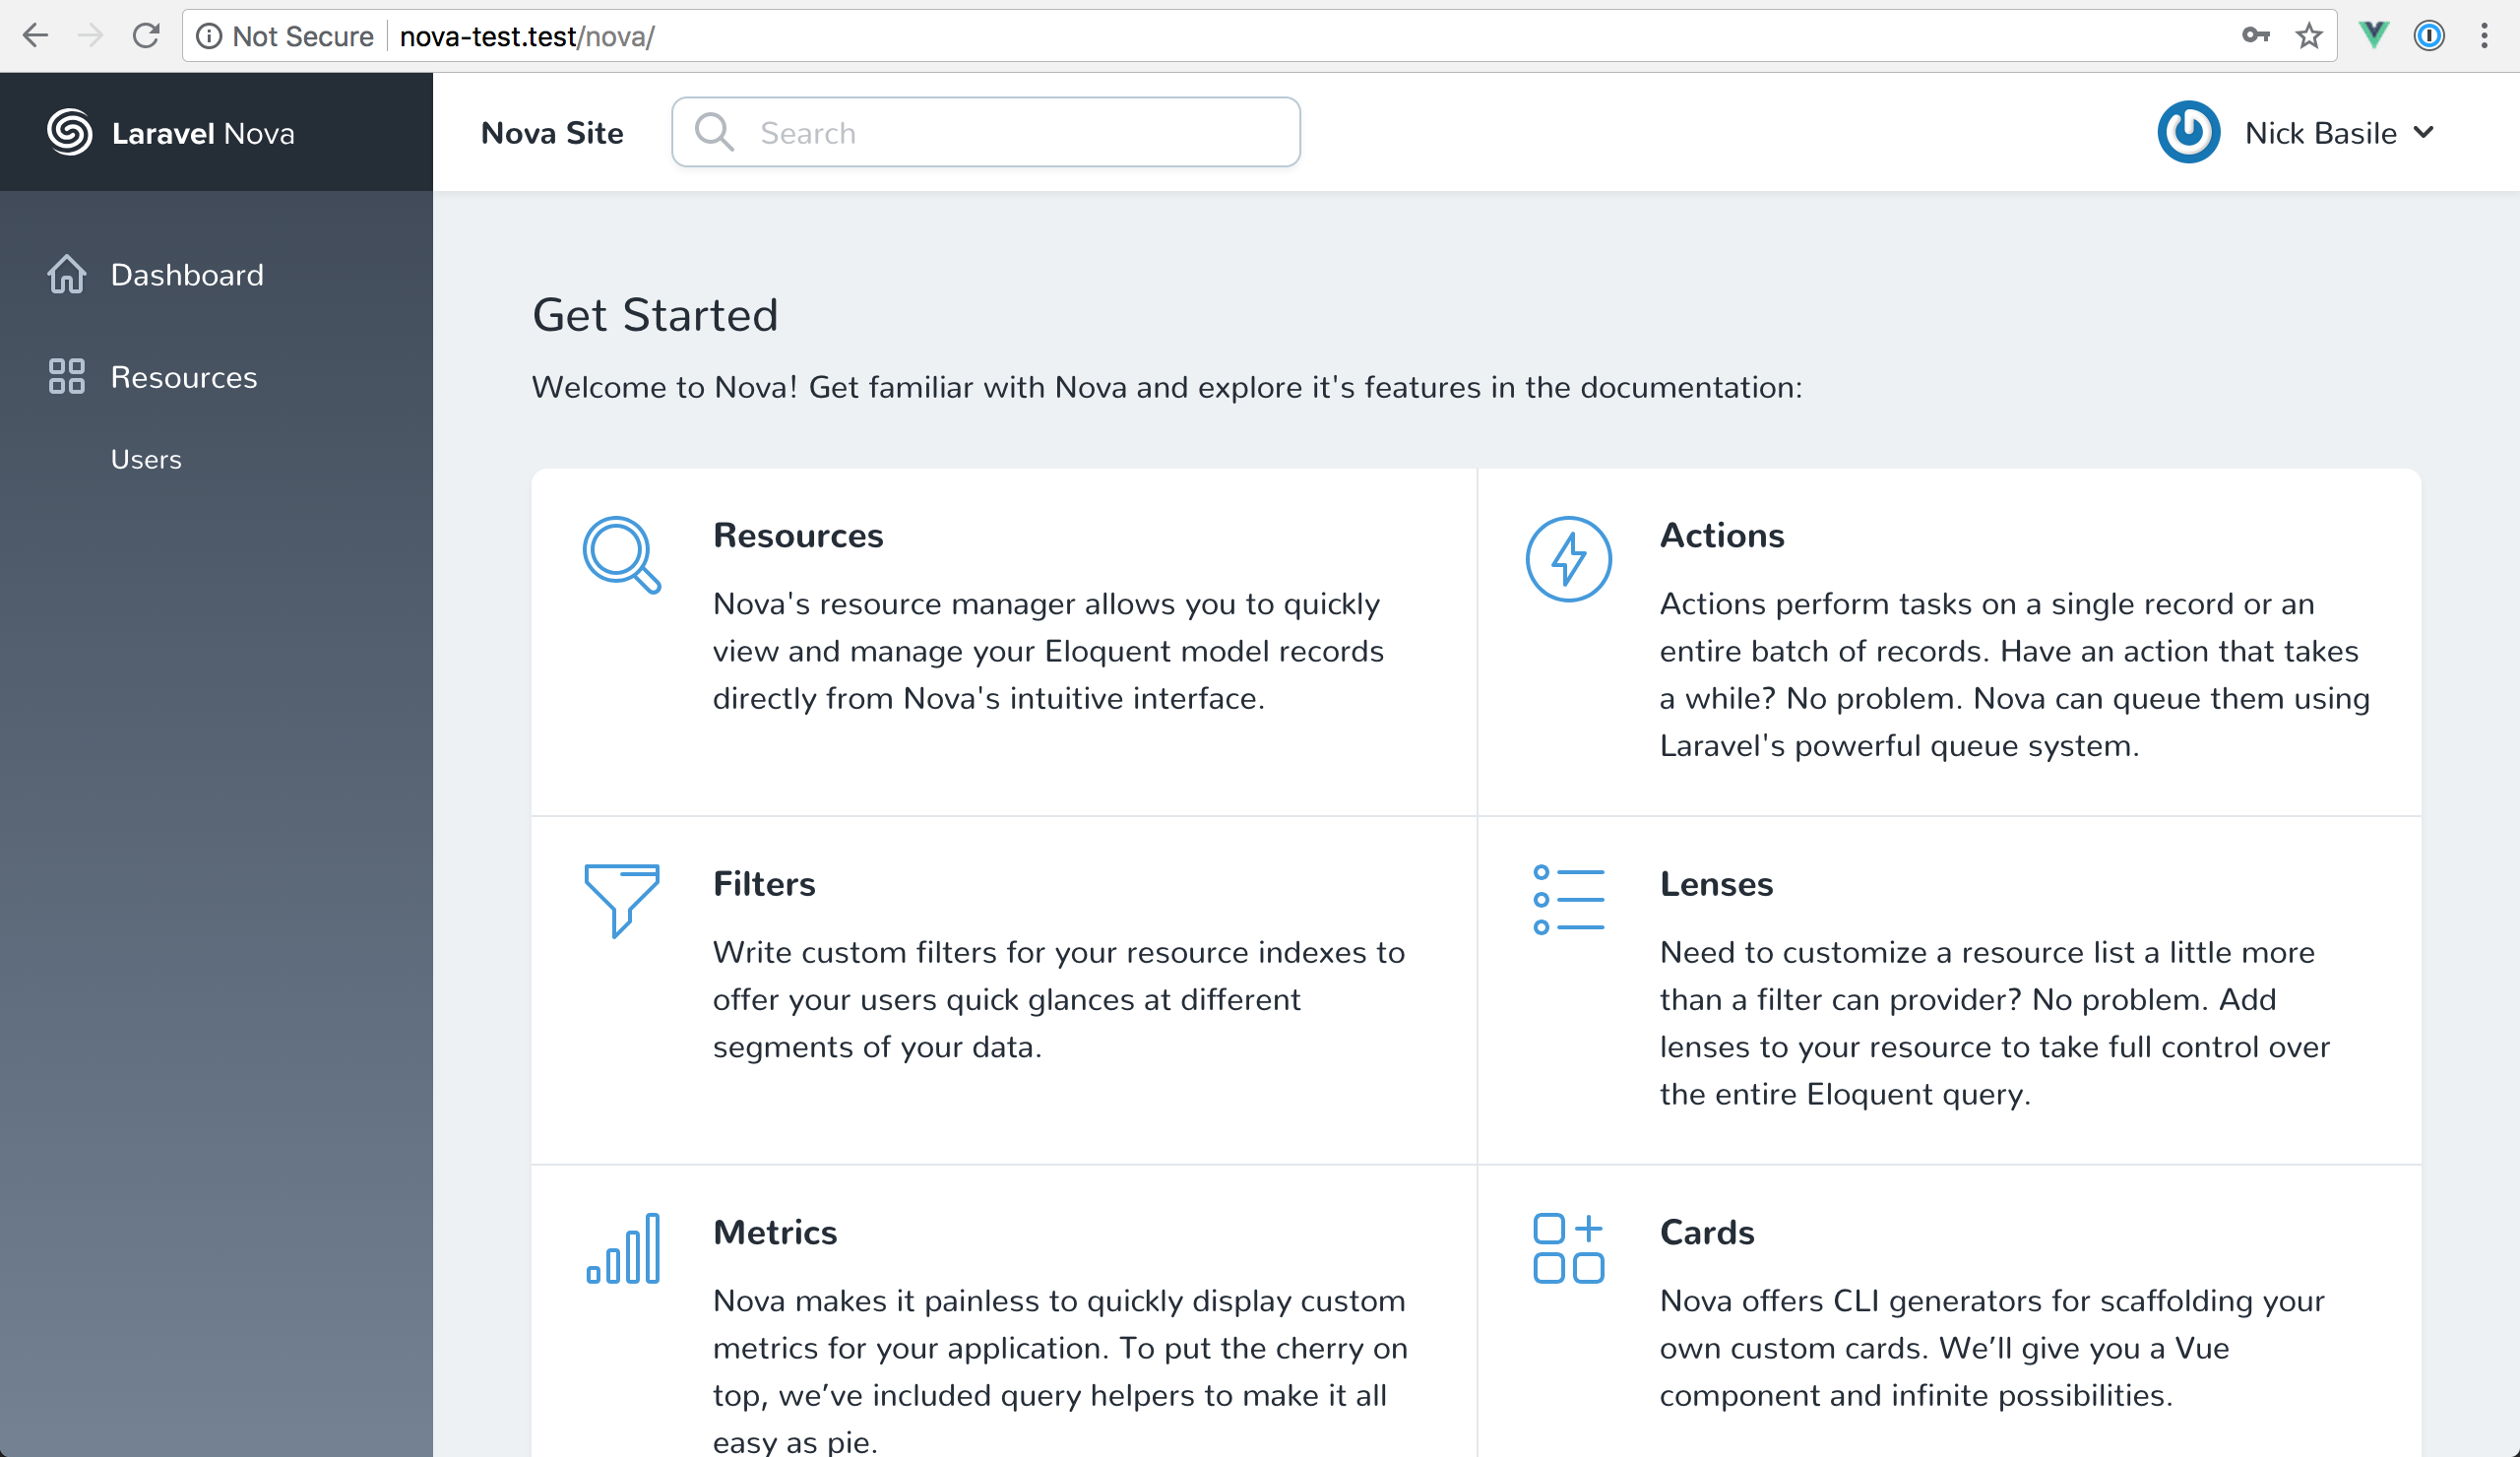
To log in, we need to create a user. Nova includes an out-of-the-box command so we can register anyone on the fly. We can run php artisan nova:user in our terminal and follow the prompts to add our first user. Now, we're ready to log in and start our blog!
Let's Build a Blog
Let's start this project like any other Laravel project. We'll use php artisan make:model Post -a to scaffold our Post model for our blog. Now, we can hop into the migrations and add some columns.
public function up()
{
    Schema::create('posts', function (Blueprint $table) {
        $table->increments('id');
        $table->integer('user_id');
        $table->text('title');
        $table->text('subtitle');
        $table->text('body');
        $table->dateTime('published_on');
        $table->timestamps();
    });
}
Now, we can run php artisan migrate to add this table to our database. After that, we can go to our Post.php file and configure the relationships. We also need to make sure we're casting the dateTime column correctly. I missed that my first time and Nova was smart enough to tell me I messed that up!

So our Post.php file will start looking like this:
class Post extends Model
{
    protected $dates = [
      'published_on',
    ];

    public function user()
    {
        return $this->belongsTo('App\User');
    }
}
Now we can define the inverse of the relationship in our User model.
class User extends Authenticatable
{
    use Notifiable;

    /**
     * The attributes that are mass assignable.
     *
     * @var array
     */
    protected $fillable = [
        'name', 'email', 'password',
    ];

    /**
     * The attributes that should be hidden for arrays.
     *
     * @var array
     */
    protected $hidden = [
        'password', 'remember_token',
    ];

    public function posts()
    {
        return $this->hasMany('App\Post');
    }
}
With our models set up, let's jump into the Nova side of things!
Using Nova
In using Nova, we have the concept of resources. Every model that you want to manage in Nova has a corresponding resource.
To generate our Post resource, we can run nova:resource Post. Now, inside of our app\Nova directory, we can see our Post resource! This where we'll do most of our configuration for how we want Nova to interact with our Post model.
To start CRUDing Post, we'll need to configure our fields() method in the Post resource. This is where we tell Nova how to interpret the columns we've defined for our model.
Nova has tons of different fields for us to use, so take a look at the available options when you're working on your projects. For now, we'll use some of the basic ones for our Post like this:
public function fields(Request $request)
{
    return [
        ID::make()->sortable(),
        BelongsTo::make('User')->rules('required'),
        Text::make('Title')->rules('required')->sortable(),
        Text::make('Subtitle')->rules('required')->hideFromIndex(),
        Markdown::make('Body')->rules('required'),
        DateTime::make('Published On')->rules('required'),
    ];
}
Let's unpack this a bit by looking at the subtitle definition.
Text::make('Subtitle')->rules('required')->hideFromIndex(),
The Text part tells us what kind of field we're generating. Then, the label is what we pass to the make() static method. The label is then snake cased to match the underlying column value.
We're also adding some extra magic by defining our validation rules with the rules() method. In this case, we're saying the Subtitle is a required field.
Finally, we're tweaking the field's display by adding the hideFromIndex() method. This prevents the field from showing up on the list page. Some fields handle this a little differently (i.e. Markdown). However, for the most part, if you don't specify the display option, then it'll show up everywhere.
As easy as that, we've built our blog's entire CMS. If we head back to the dashboard, we can see that a new Posts menu item has appeared under Resources.

Clicking on that will take us to the index page for our Posts.
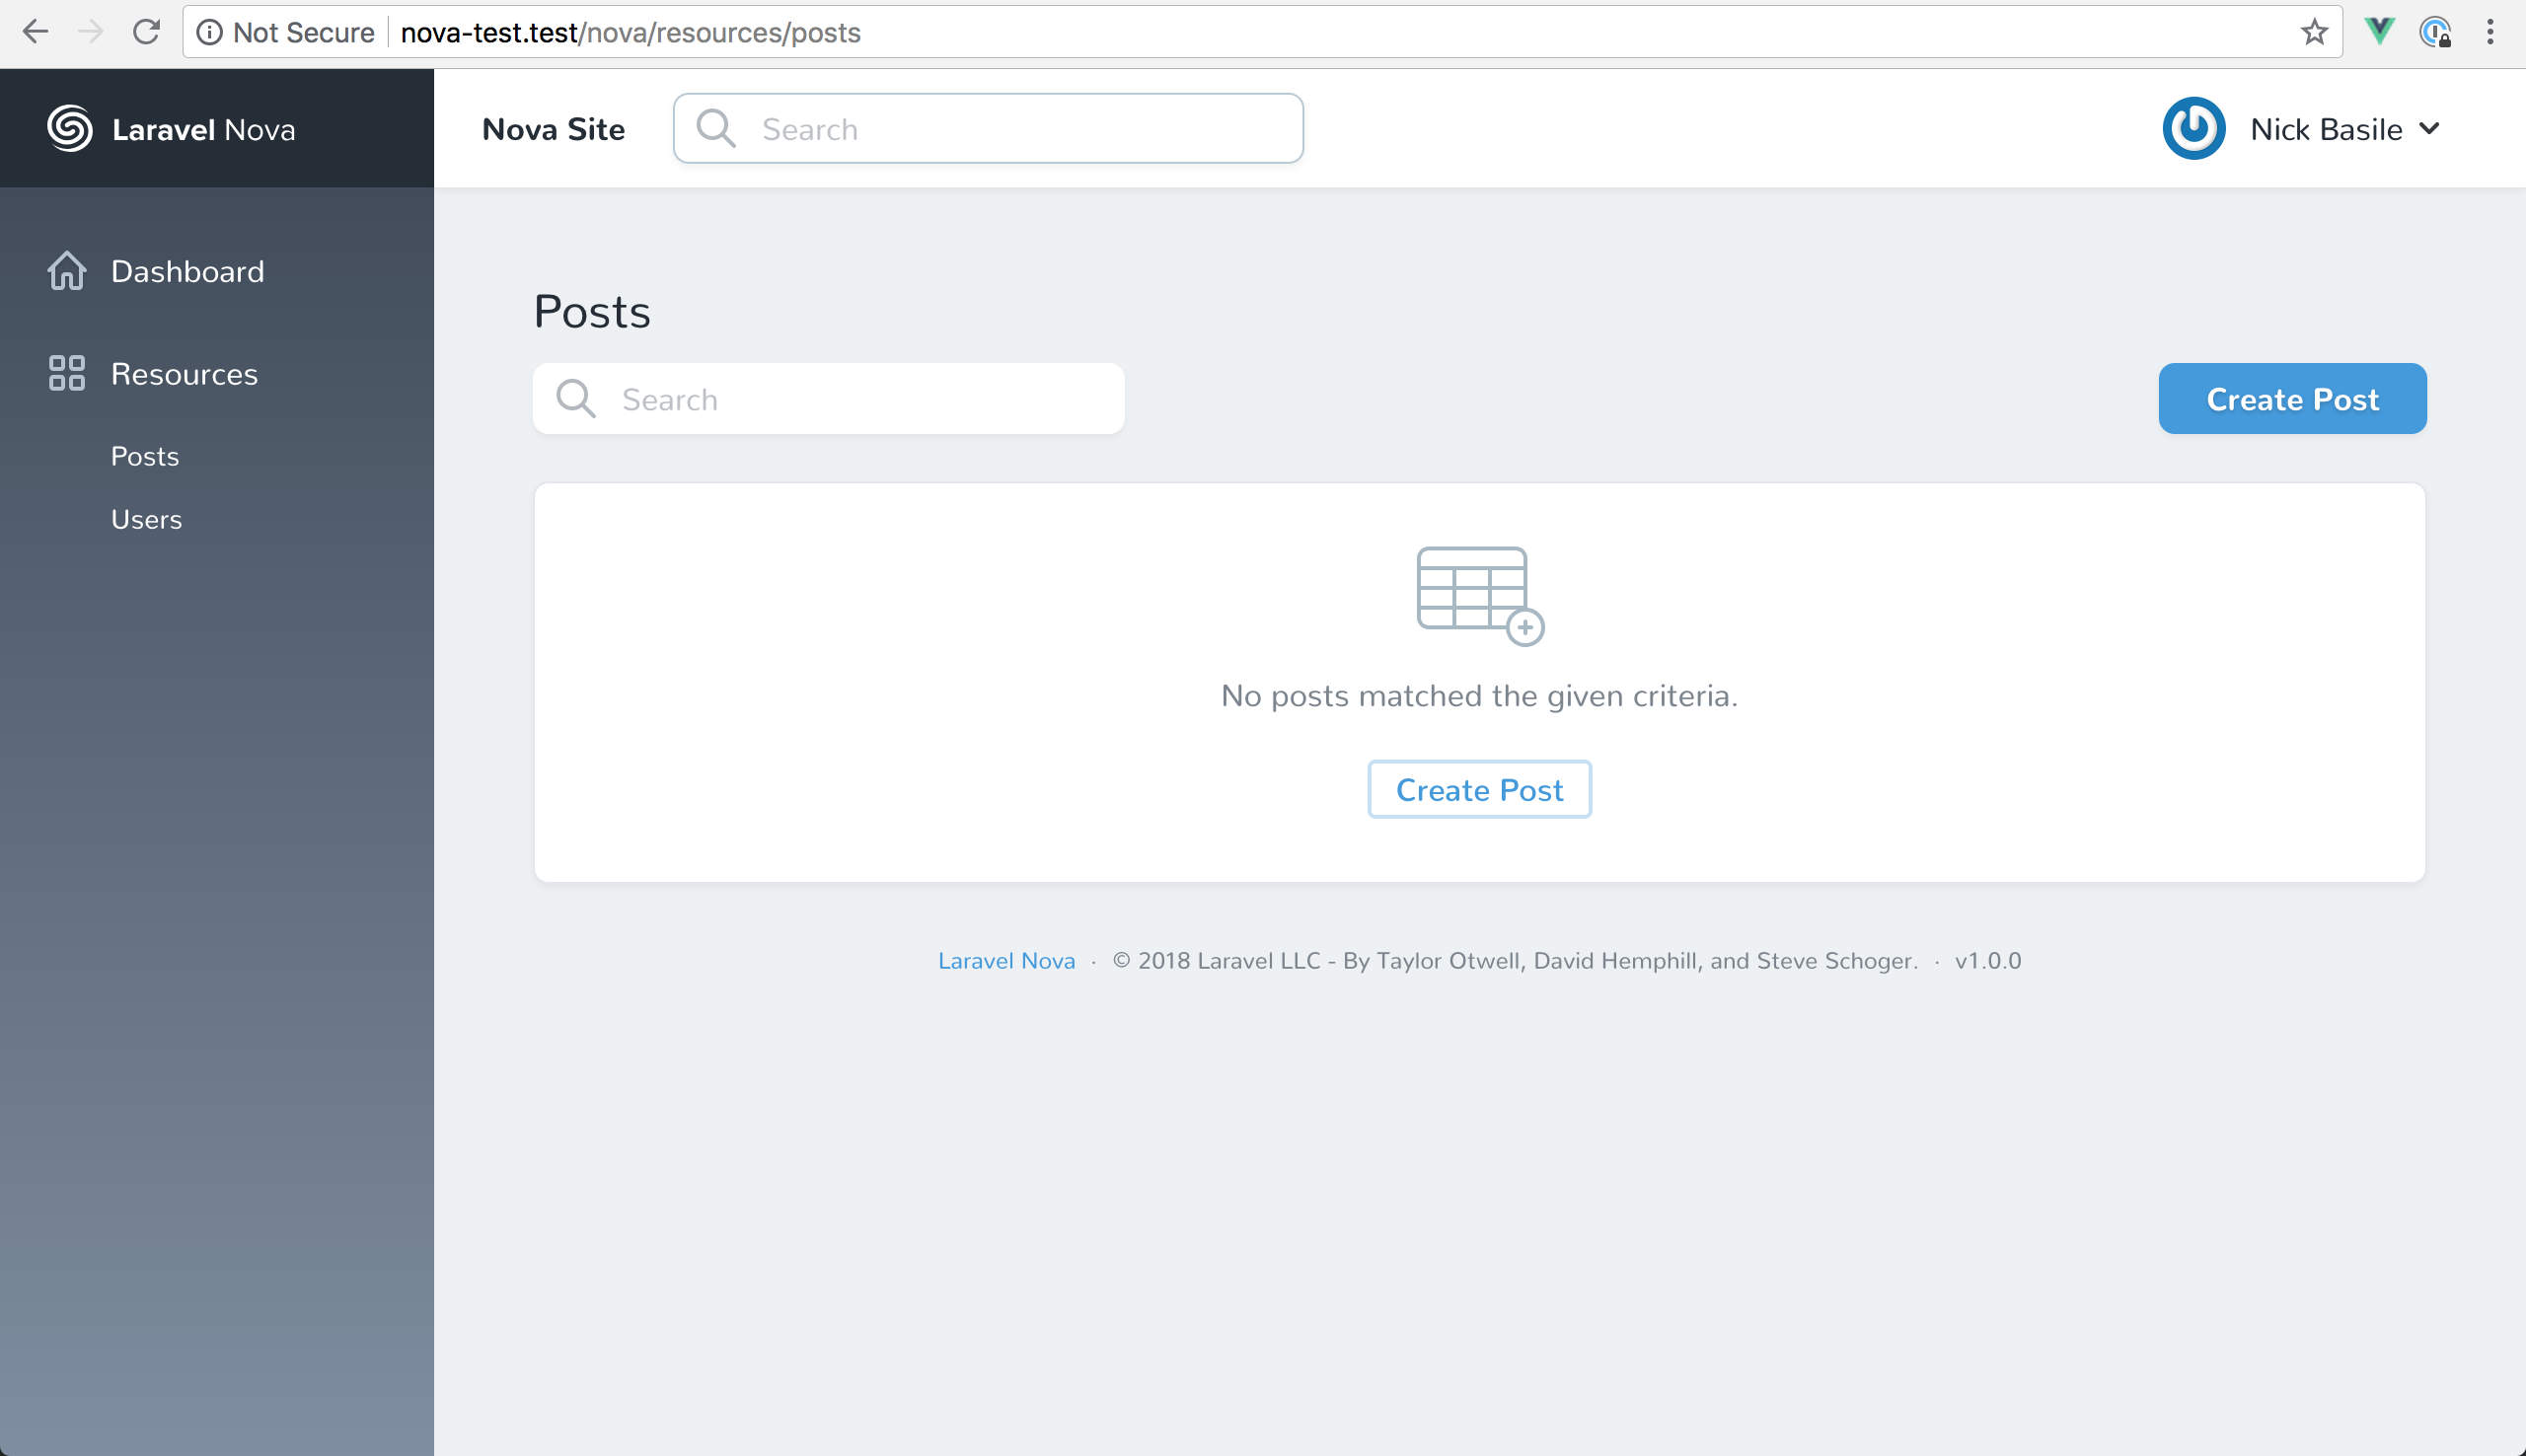
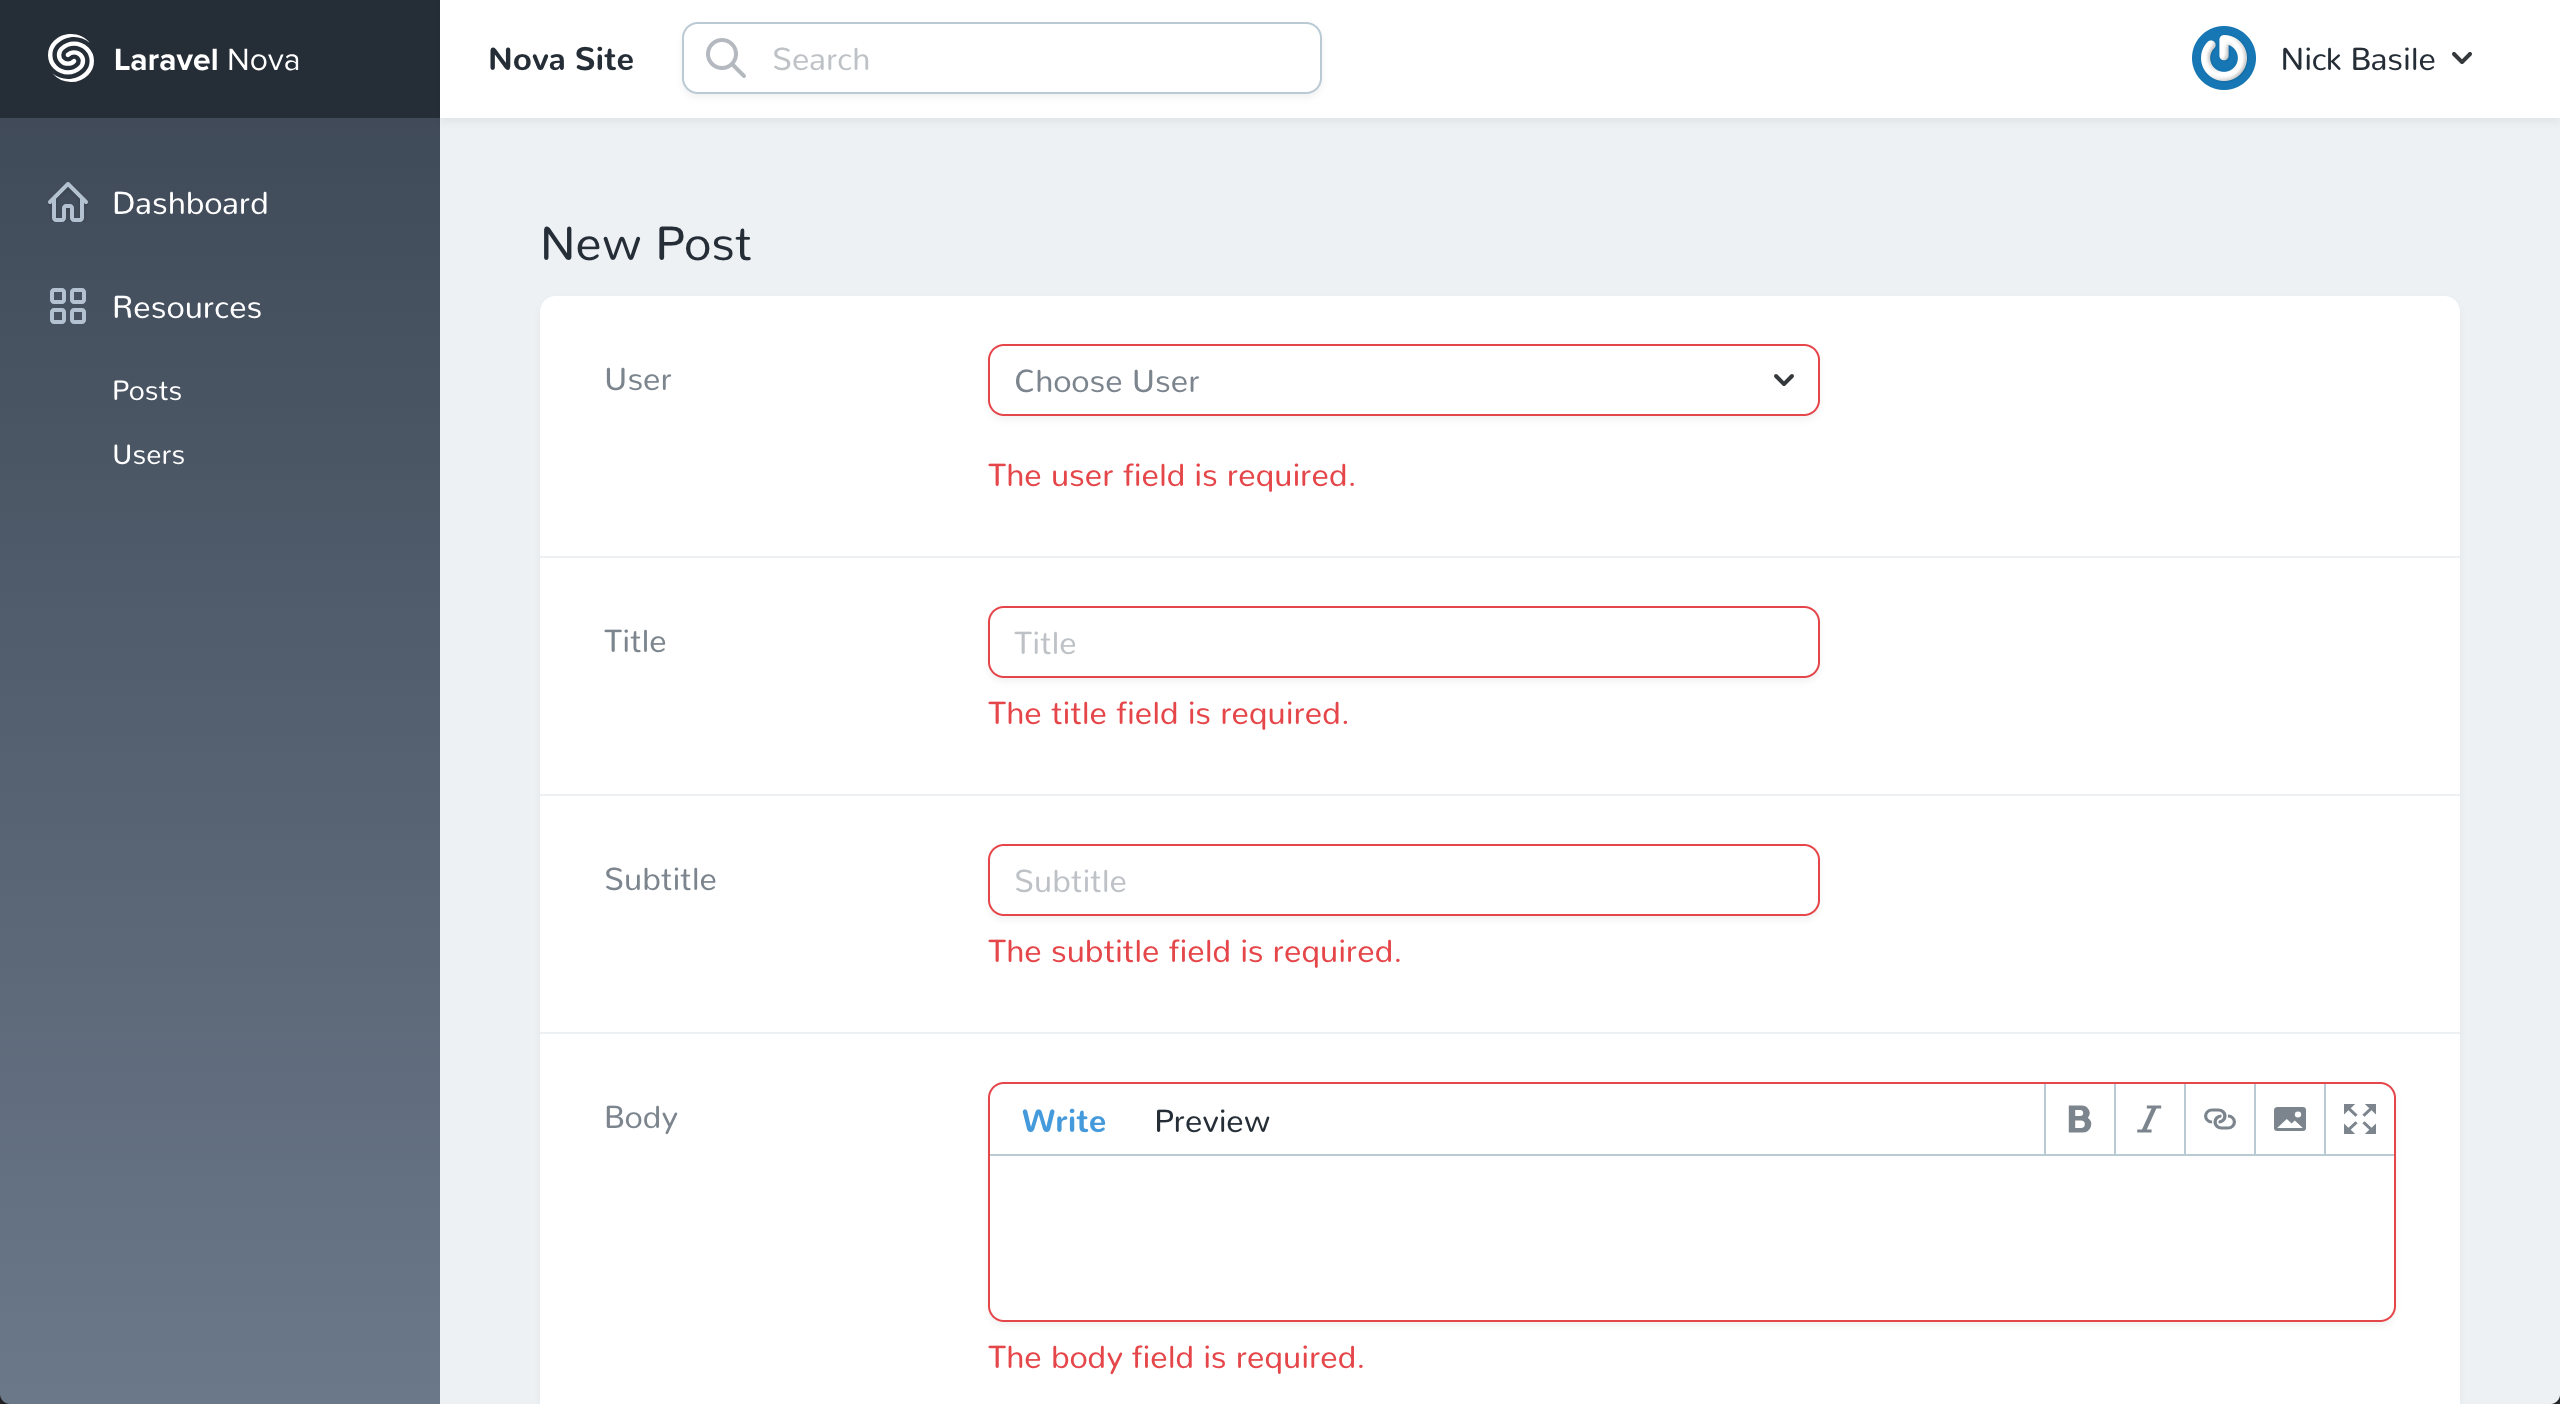
We're prompted to create a post, and we click the button to get started. This brings up the create form for adding a Post.

If we try to submit the form like this, we can see our validation working as expected.
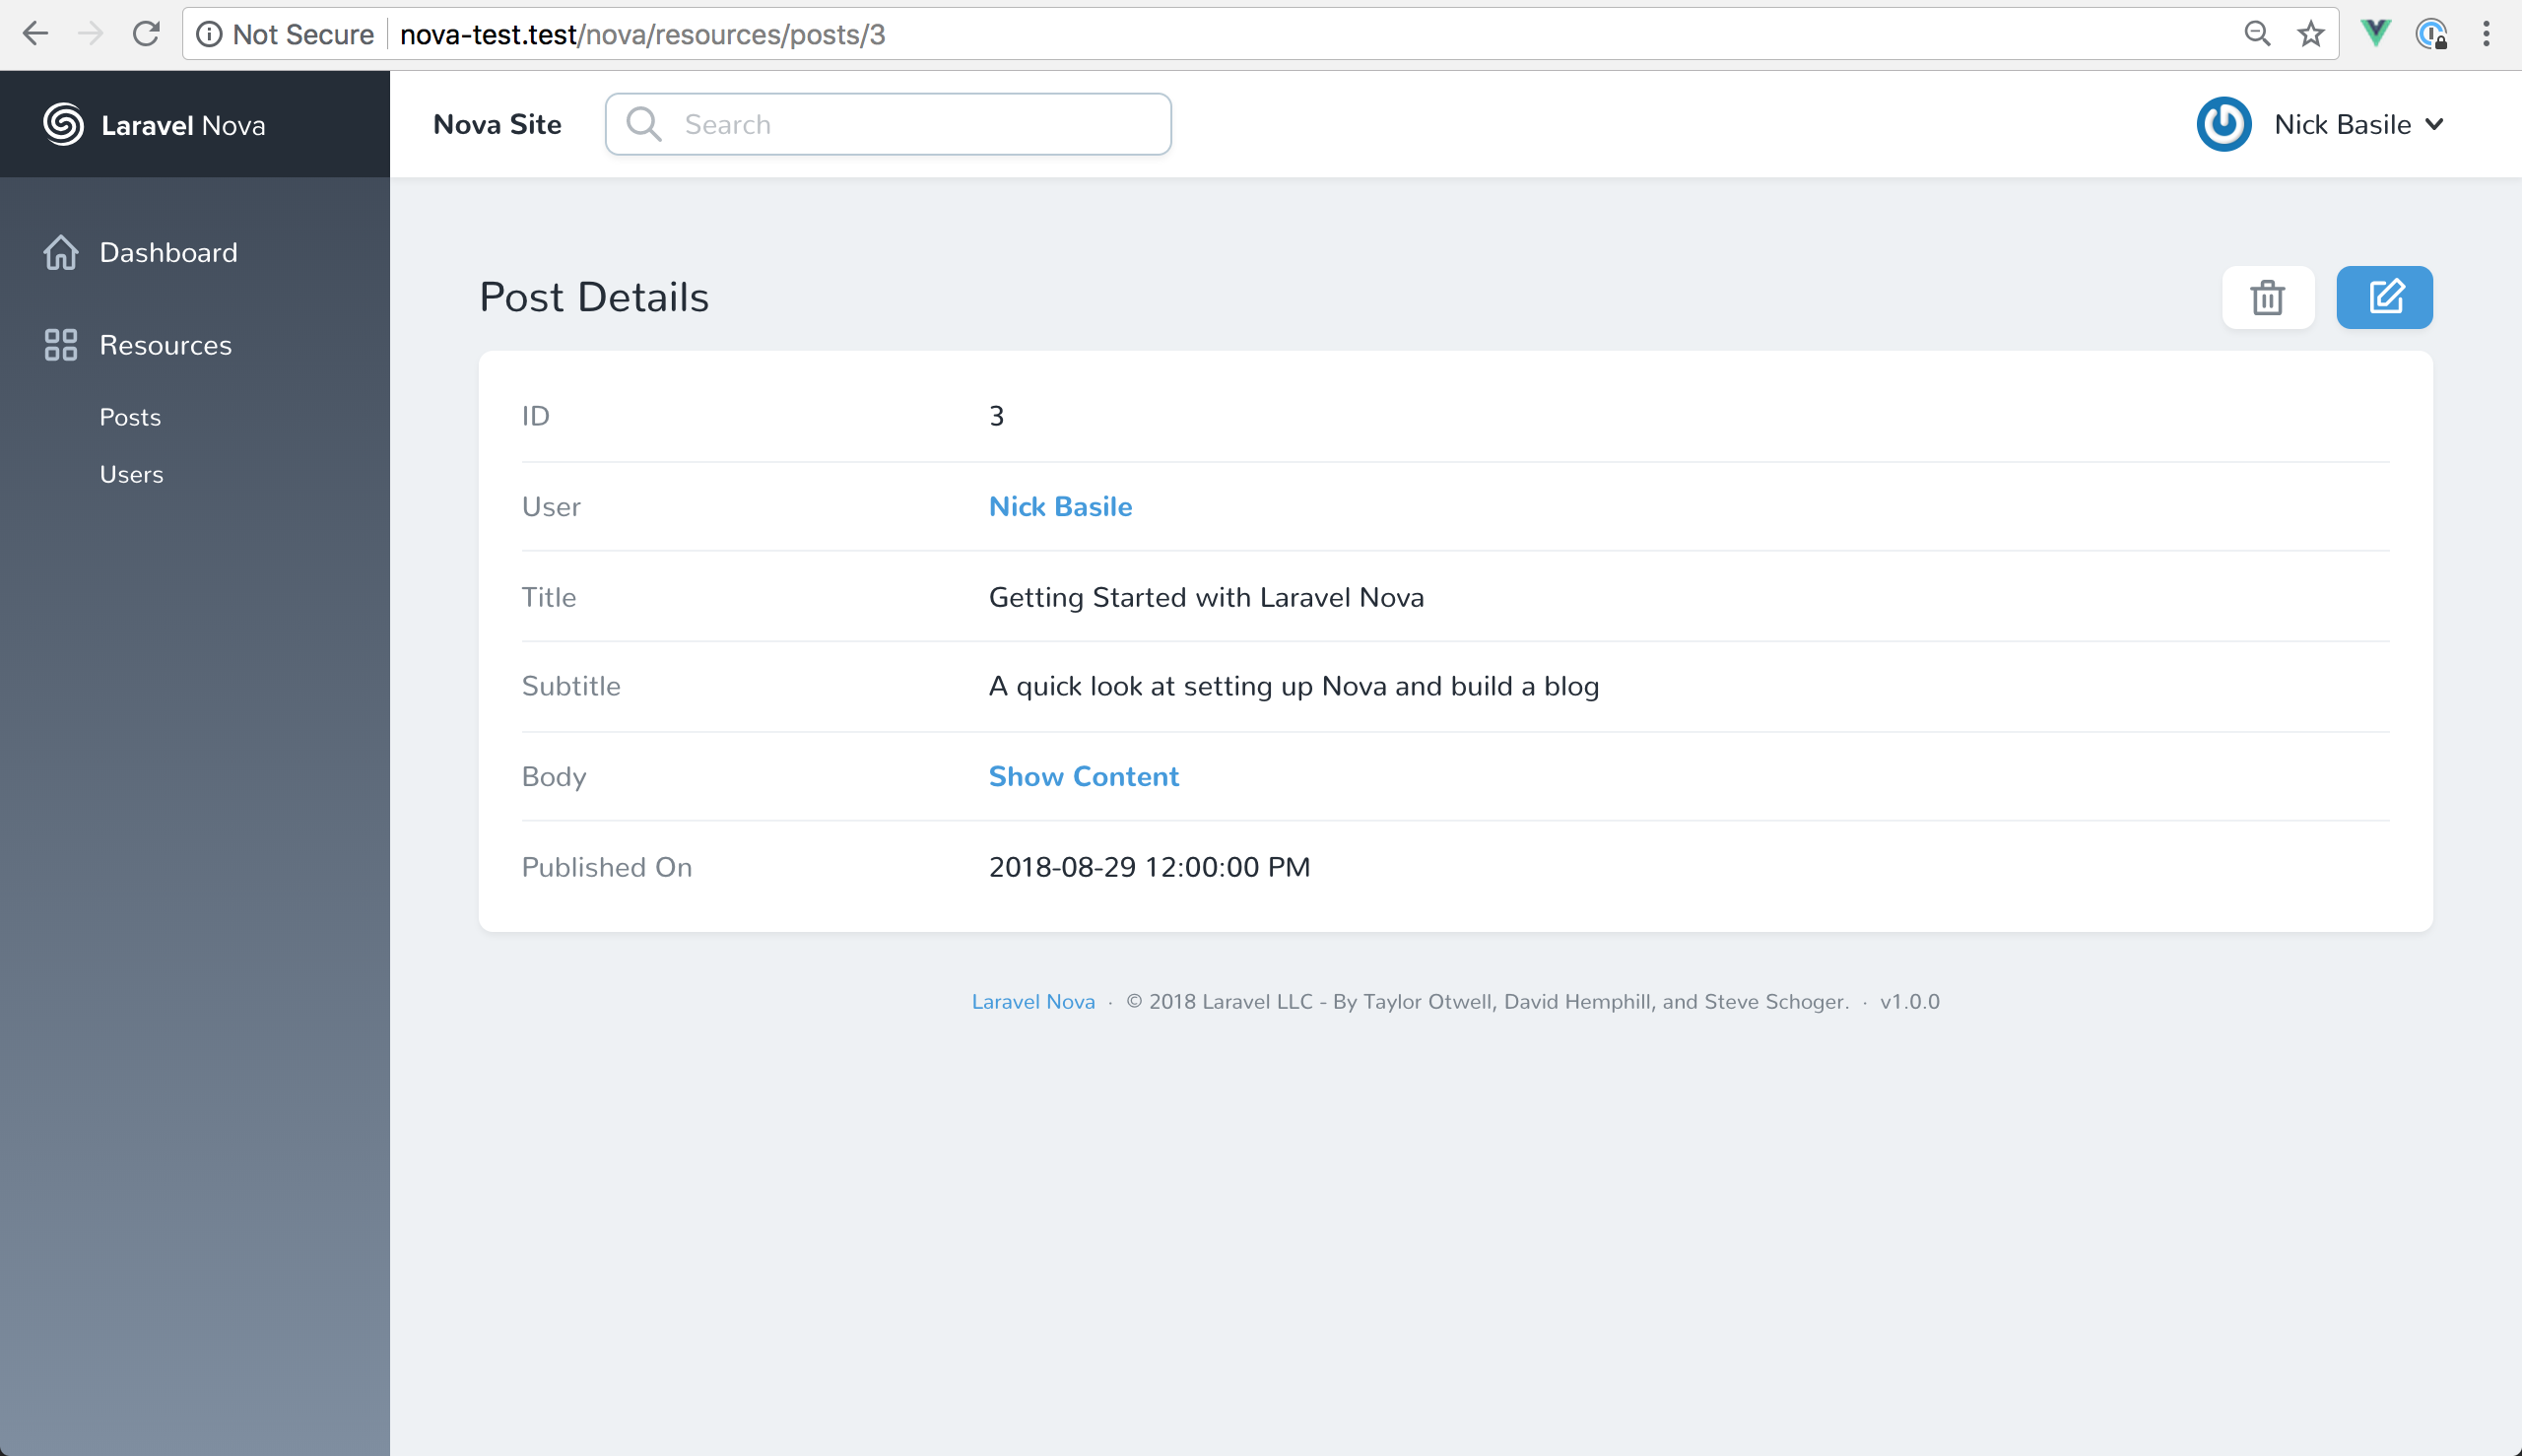
Once we've filled out all the details, we're redirected to the post itself, and we can see all of its info.
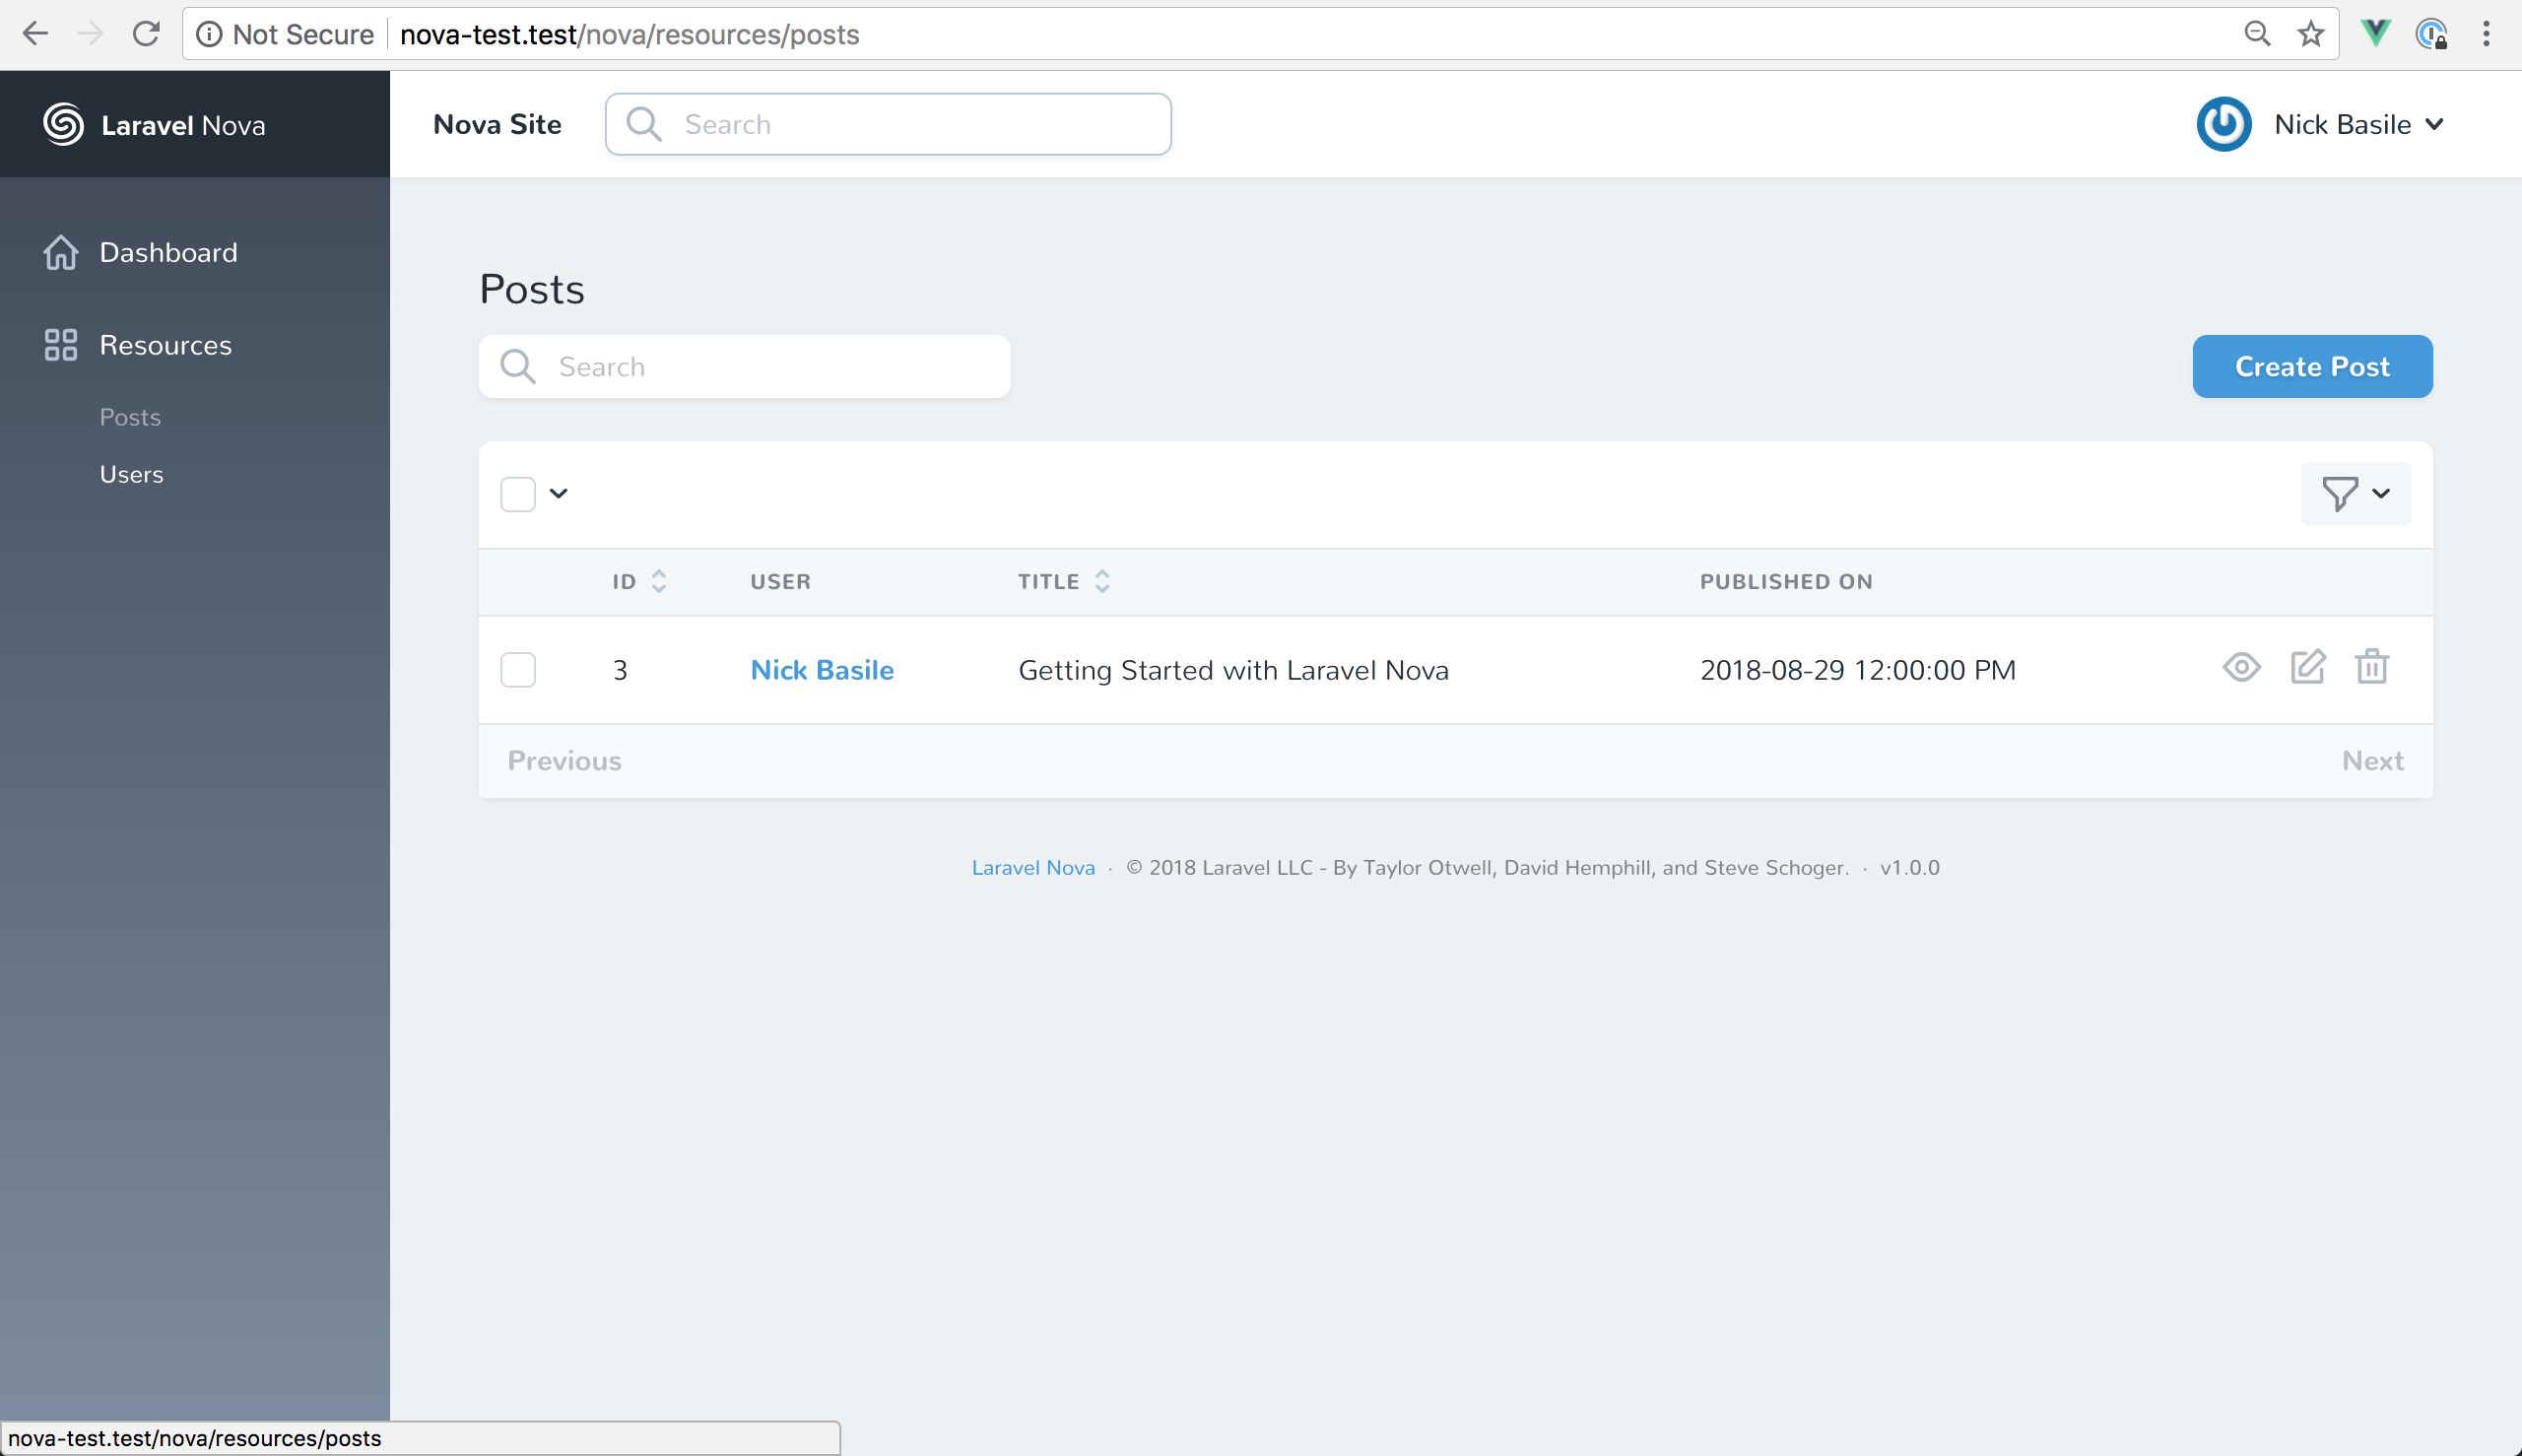
Finally, we can head back to the index page and see our newly created Post.
Just like that, we've built a CMS for a blog. Now, while that takes care of the admin side of things, we still need to make our posts viewable to our users. So, Nova gives us a tremendous head start on our projects, but we'll still need to earn our developer chops by building the features our users need.
Back to Laravel
To finish up this blog, we'll hop into our PostController and set up our user views. For this demo, we only care about index() and show() so we can delete the other methods that were auto-generated for us earlier.
Now we'll quickly grab the right data and send our users to some new views.
class PostController extends Controller
{
    public function index()
    {
        $posts = Post::orderByDesc('published_on')->get();

        return view('posts', compact('posts'));
    }

    public function show(Post $post)
    {
        return view('post', compact('post'));
    }
}
Next, we can update our web.php file by replacing what's in there with this:
Route::get('/', 'PostController@index');
Route::get('/posts/{post}', 'PostController@show');
Finally, we'll rename welcome.php to posts.php. Then we can get rid of the default HTML and use this:
<!doctype html>
<html lang="{{ app()->getLocale() }}">
    <head>
        <meta charset="utf-8">
        <meta http-equiv="X-UA-Compatible" content="IE=edge">
        <meta name="viewport" content="width=device-width, initial-scale=1">

        <title>Laravel</title>

        <!-- Fonts -->
        <link href="https://fonts.googleapis.com/css?family=Nunito:200,600" rel="stylesheet" type="text/css">

        <!-- Styles -->
        <style>
            html, body {
                background-color: #fff;
                color: #636b6f;
                font-family: 'Nunito', sans-serif;
                font-weight: 200;
                height: 100vh;
                margin: 0;
            }

            .m-b-md {
                display: block;
                margin-bottom: 60px;
            }
        </style>
    </head>
    <body>
        <div>
            @foreach($posts as $post)
                <a href="/posts/{{$post->id}}" class="m-b-md">
                    <h1>{{$post->title}}</h1>
                    <h3>{{$post->subtitle}}</h3>
                    <h4>{{$post->published_on}}</h4>
                </a>
            @endforeach
        </div>
    </body>
</html>
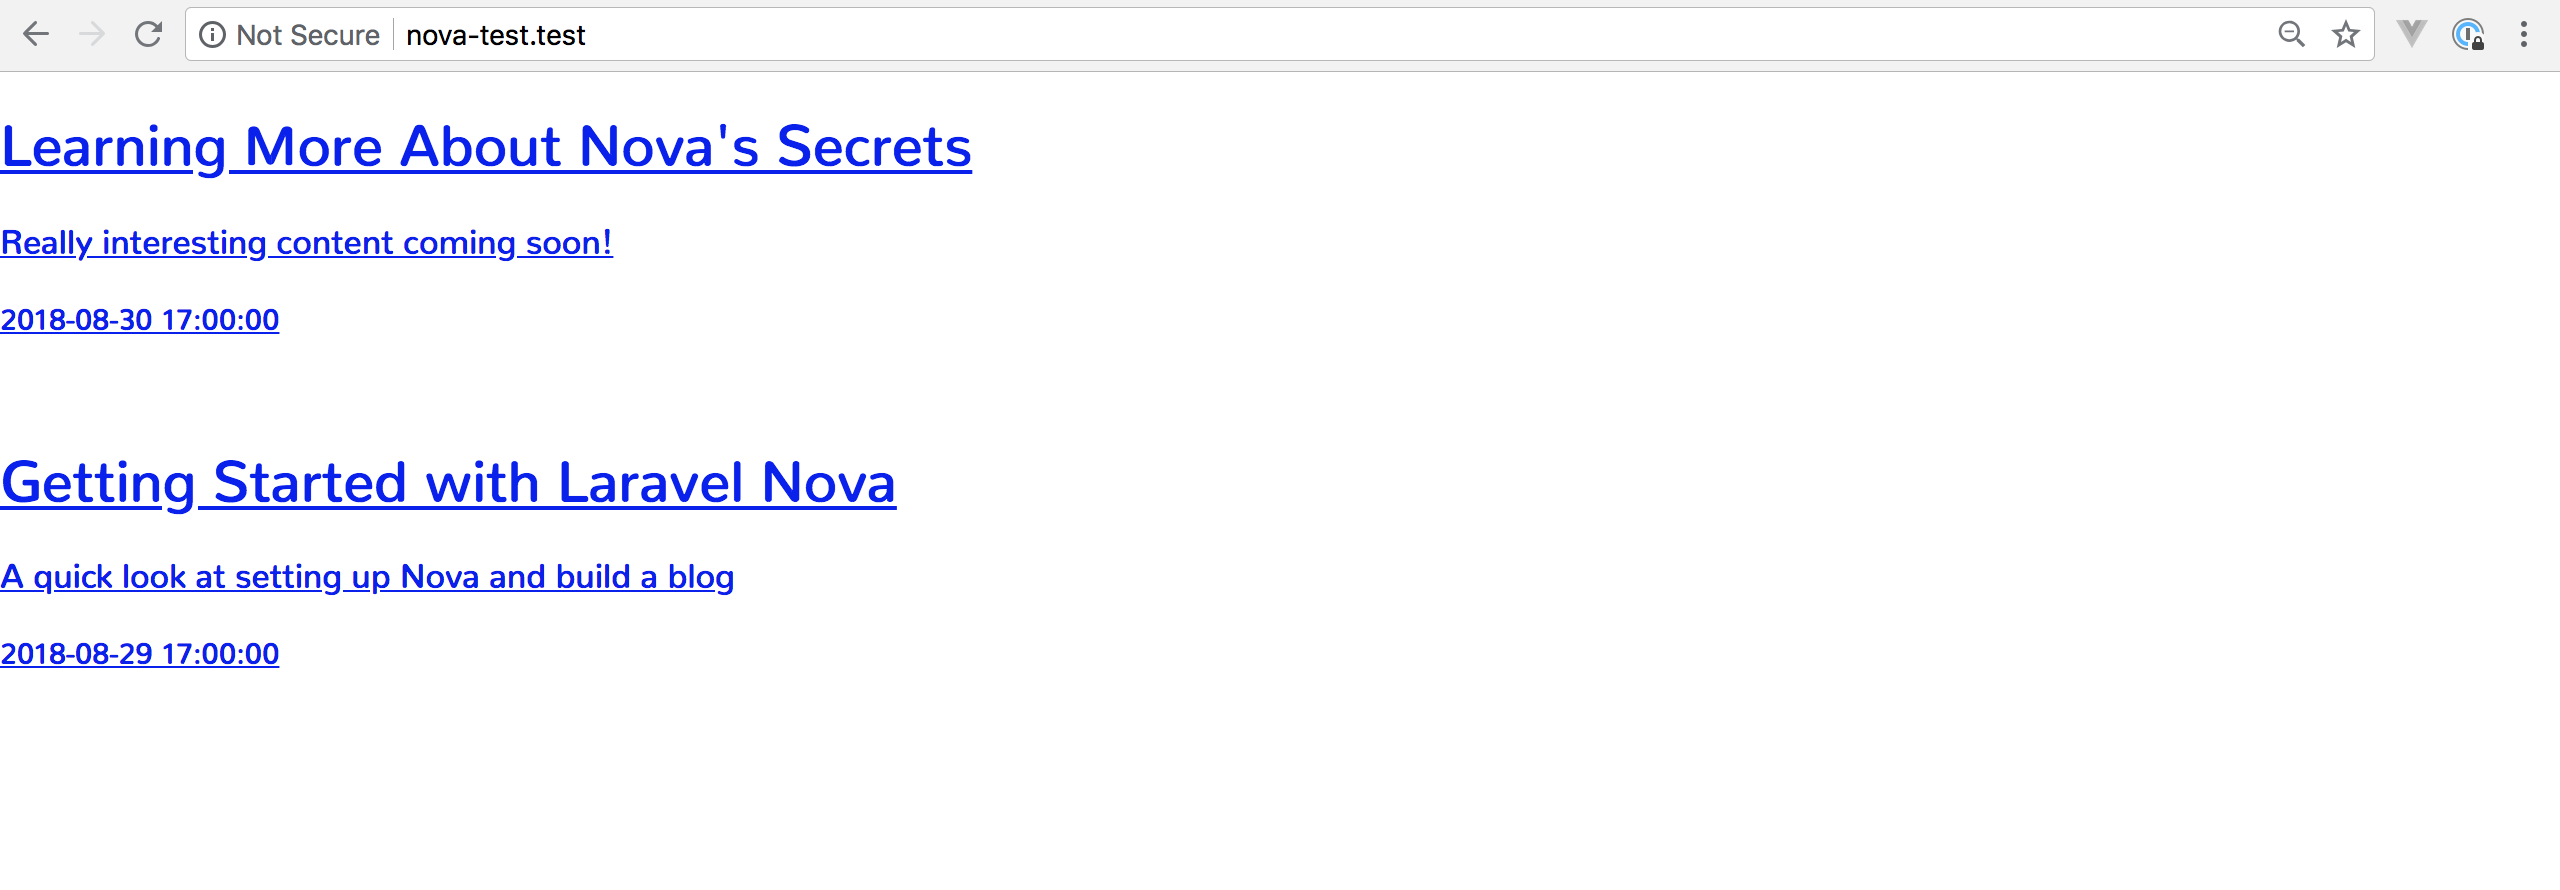
Now we have some blog posts coming through!
Finally, we'll copy this file and rename it to post.blade.php. Then we can replace it with this:
<!doctype html>
<html lang="{{ app()->getLocale() }}">
    <head>
        <meta charset="utf-8">
        <meta http-equiv="X-UA-Compatible" content="IE=edge">
        <meta name="viewport" content="width=device-width, initial-scale=1">

        <title>Laravel</title>

        <!-- Fonts -->
        <link href="https://fonts.googleapis.com/css?family=Nunito:200,600" rel="stylesheet" type="text/css">

        <!-- Styles -->
        <style>
            html, body {
                background-color: #fff;
                color: #636b6f;
                font-family: 'Nunito', sans-serif;
                font-weight: 200;
                height: 100vh;
                margin: 0;
            }
        </style>
    </head>
    <body>
        <div>
            <h1>{{$post->title}}</h1>
            <h3>{{$post->subtitle}}</h3>
            <h4>Written by {{$post->user->name}} on {{$post->published_on}}</h4>
        </div>
        <article>{{$post->body}}</article>
    </body>
</html>
Taking a look, we can see our blog post!

The Wrap-Up
I don't know about you, but that is the fastest amount of time I've ever built a blog in. Nova is a real game-changer, and we barely scratched the surface in terms of what it's capable of doing. Plus, with all of the incredible packages that folks are already releasing, we're in for some great times ahead.
I think we all owe the Laravel team a big round of applause for this incredibly well thought-out and executed tool. I can't wait to see what we'll all be able to build with it! As always, feel free to ask me any questions on Twitter. And until next time, happy coding!
To keep learning about Laravel Nova, check out my next post where I deep dive more features by building a simple CRM.